

Holley 12.3" Pro Dash in the 04-12 Chevy Colorado / Canyon
By Tyler M. on Aug 19th 2022
Introduction:
This document outlines the process required to fit a 12.3” Holley digital dash into your 04-12 Chevy Colorado / GMC Canyon using the Reversion Raceworks mount. The process requires permanent modification to your dashboard, and should be performed by a professional with mechanical experience. This guide only outlines how to modify the dash bezel and dashboard of the truck to fit the display + our mount - screen wiring / routing is up to you and not covered.
The tools you will need are a small rotary cutoff tool, ruler/calipers, file, sandpaper, masking tape, a screwdriver, and patience.
Modification Process:
Both the outer bezel and dashboard need to be cut. Remove the bezel by pulling on the factory clips so you can work with the bezel on a secure surface. Remove your factory cluster with a screwdriver and do whatever you want with it. If you’re running a 12.3” Pro Dash, you probably know how to take apart your factory dash assembly.
Since the Holley screen + Reversion mount end up thicker than the factory cluster at the bottom, the lower extensions that form the ‘hood’ protruding from the rear of the bezel will need to be shortened. Take your time when cutting - our measurements are only a starting point. Take off less than you think so you don’t overshoot the cut.
Start with cutting inside the dashboard of the vehicle, it may be easiest to uninstall it from the vehicle. We have not tried these modifications inside of one. The main issue with fitting the Holley 12.3 Pro Dash into the car is the lack of corner clearance. The goal should be cutting as much out of the corners as possible and getting enough room for our mount to slip in. Photos below show some rough cutting lines to start with.
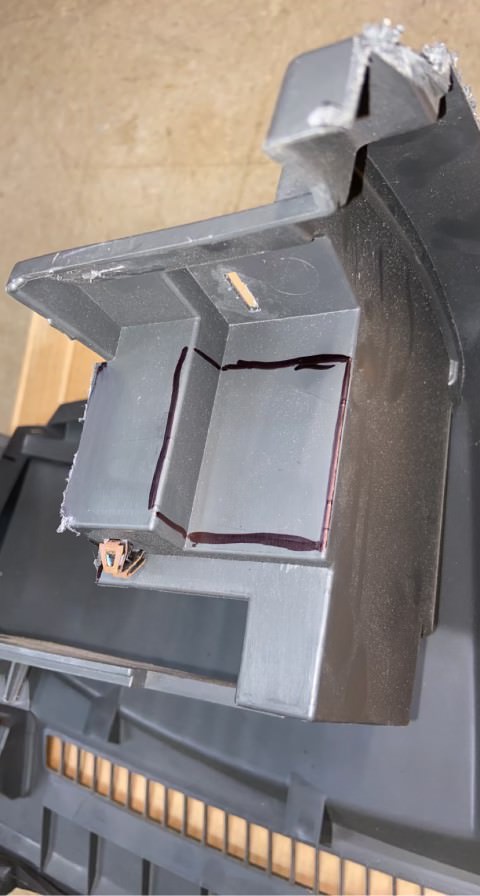
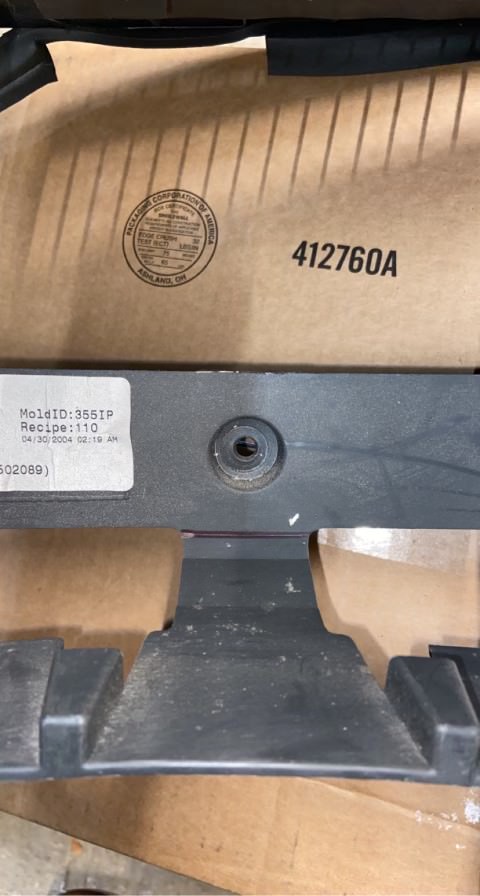

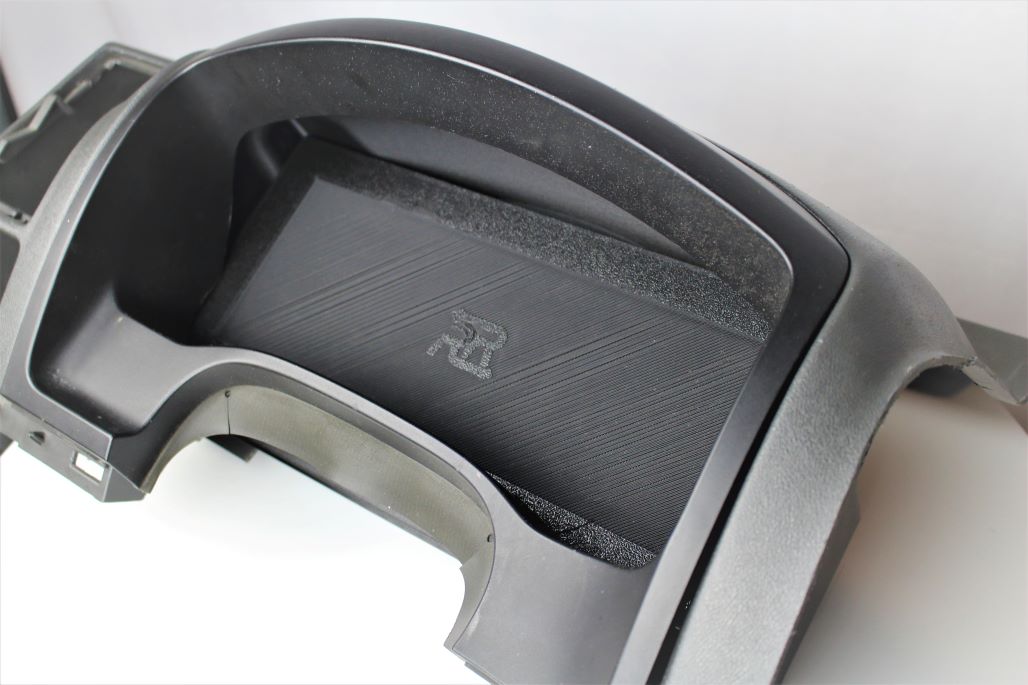
Fig. 1: View of the unmodified dashboard
Leave as much material around the factory mounting holes as possible, they will be used to hold in your Reversion Raceworks bracket. It is important to grind down your cuts around them so that the mount has a flat mounting surface to rest on.
The best guide will be attempting to install your RR mount and seeing what touches, it should slip in with minimal effort and line up with all 4 factory mourning holes.

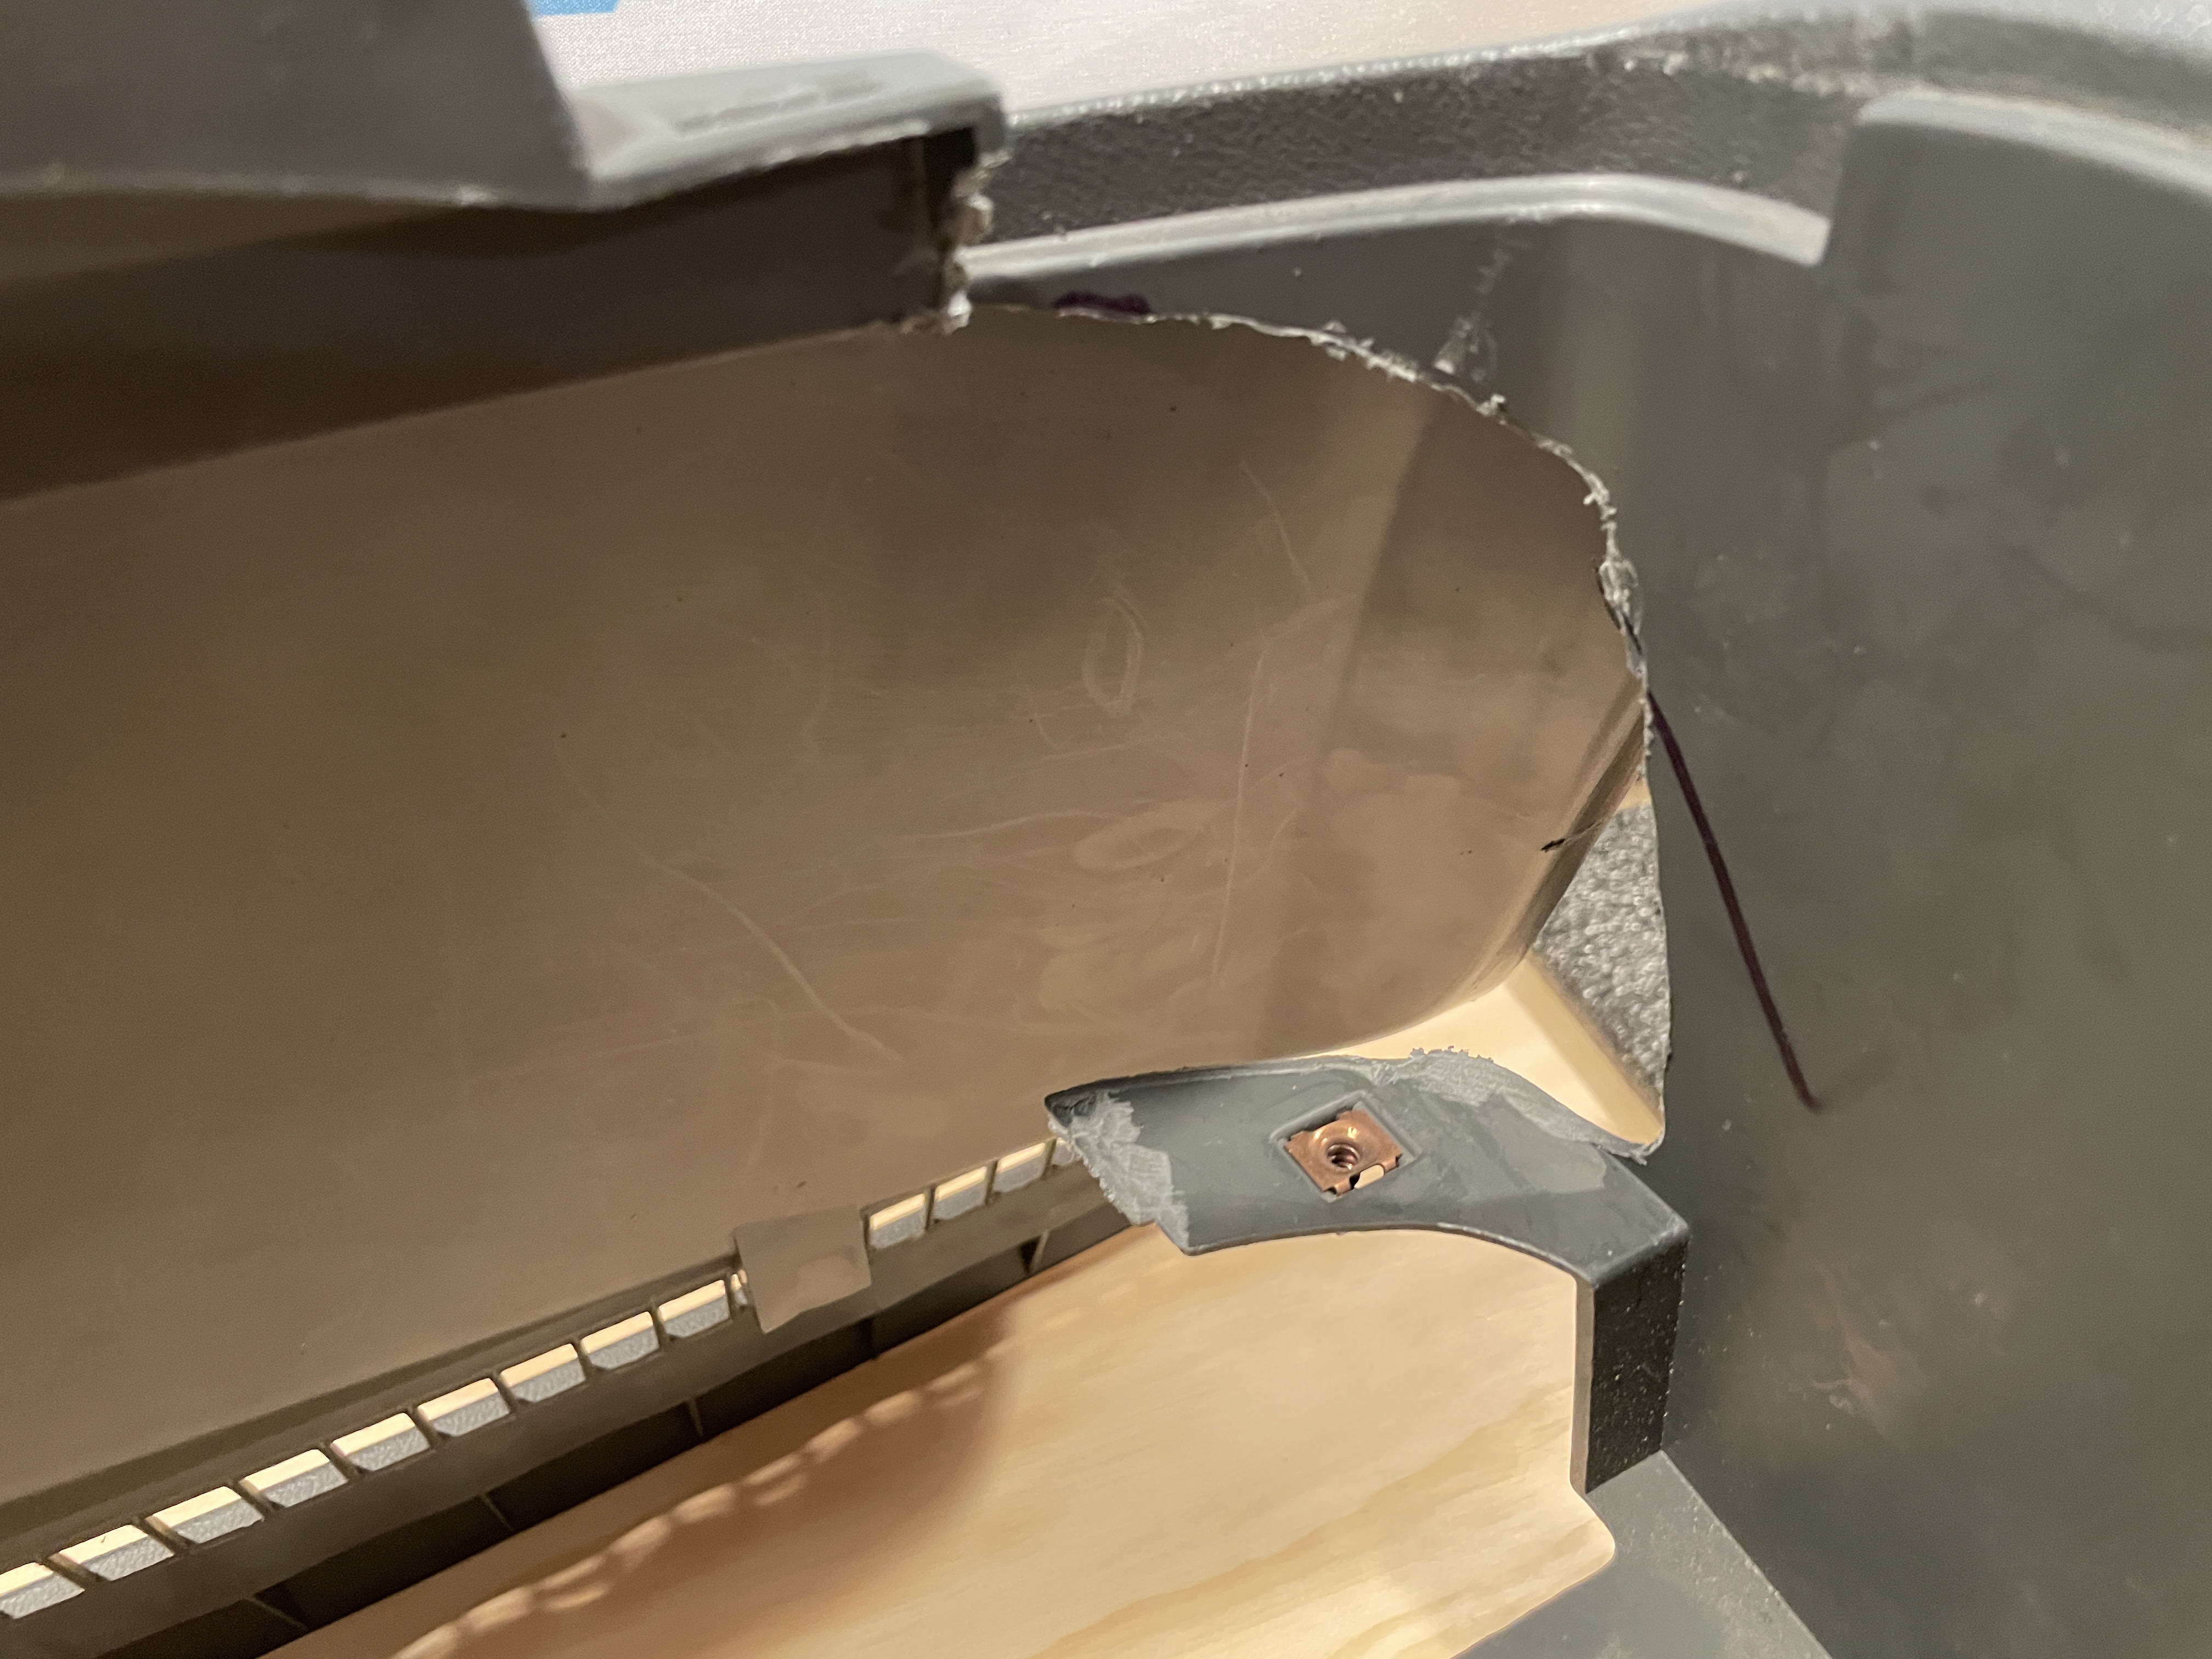
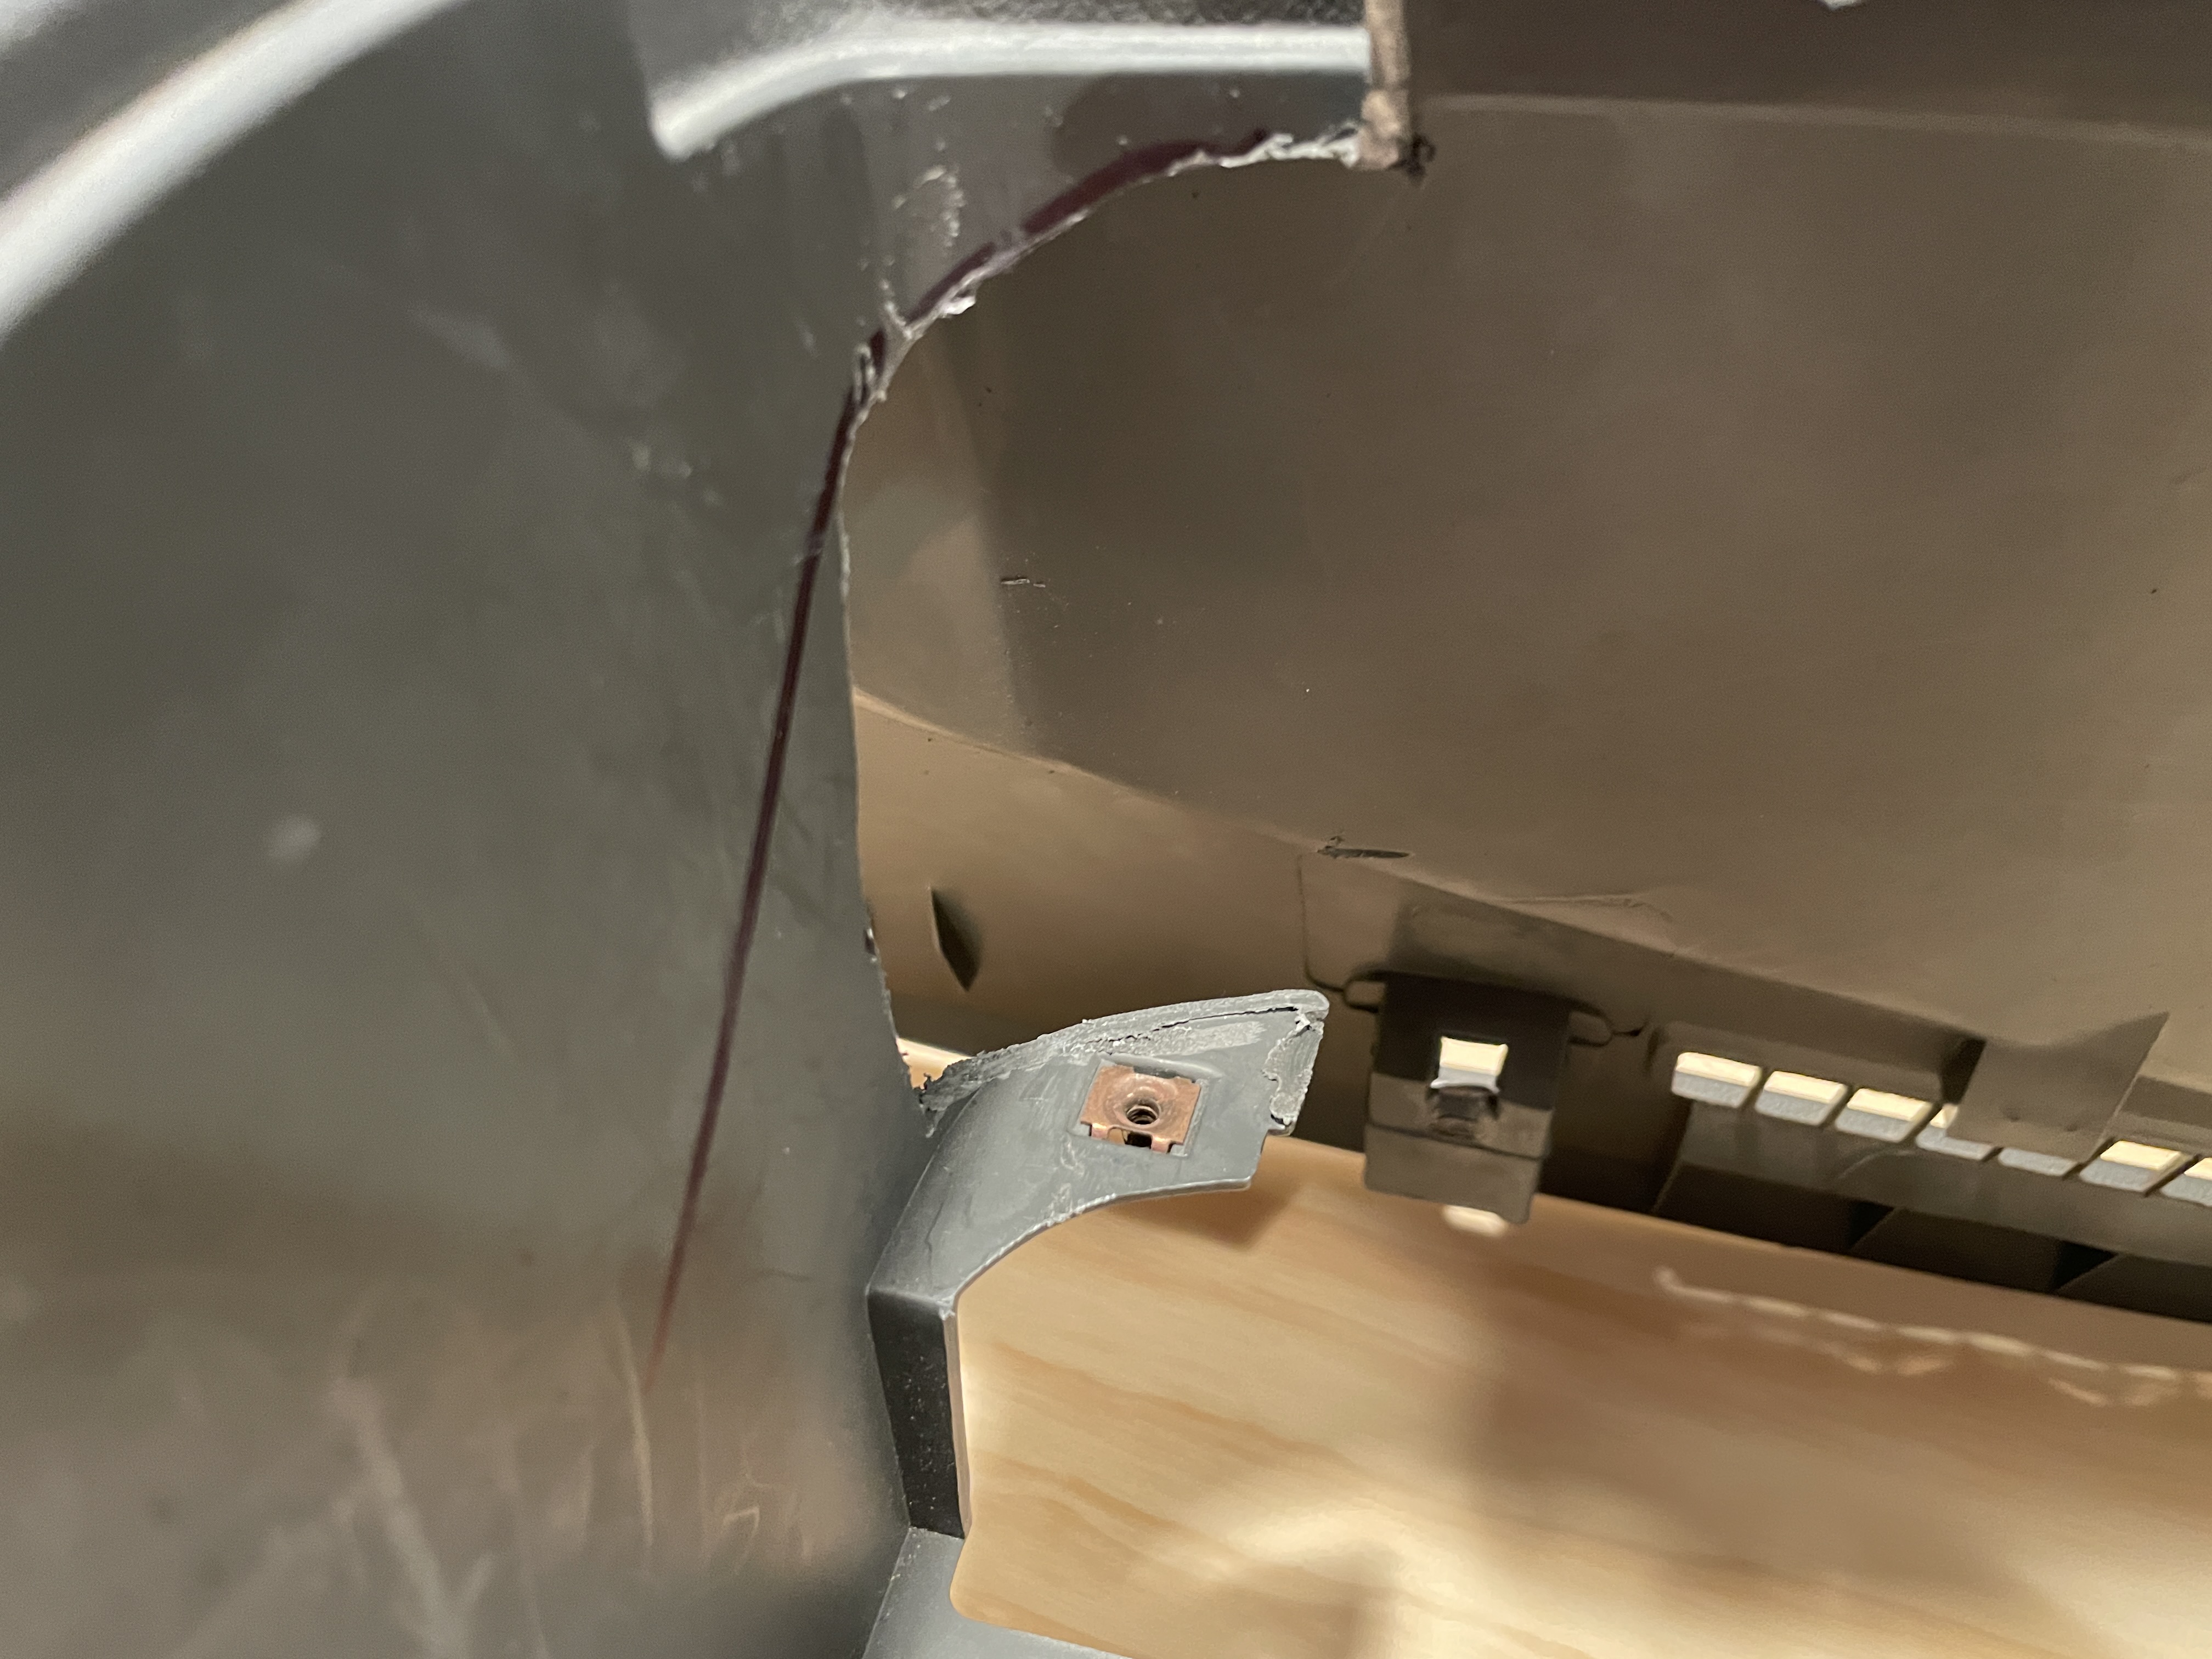
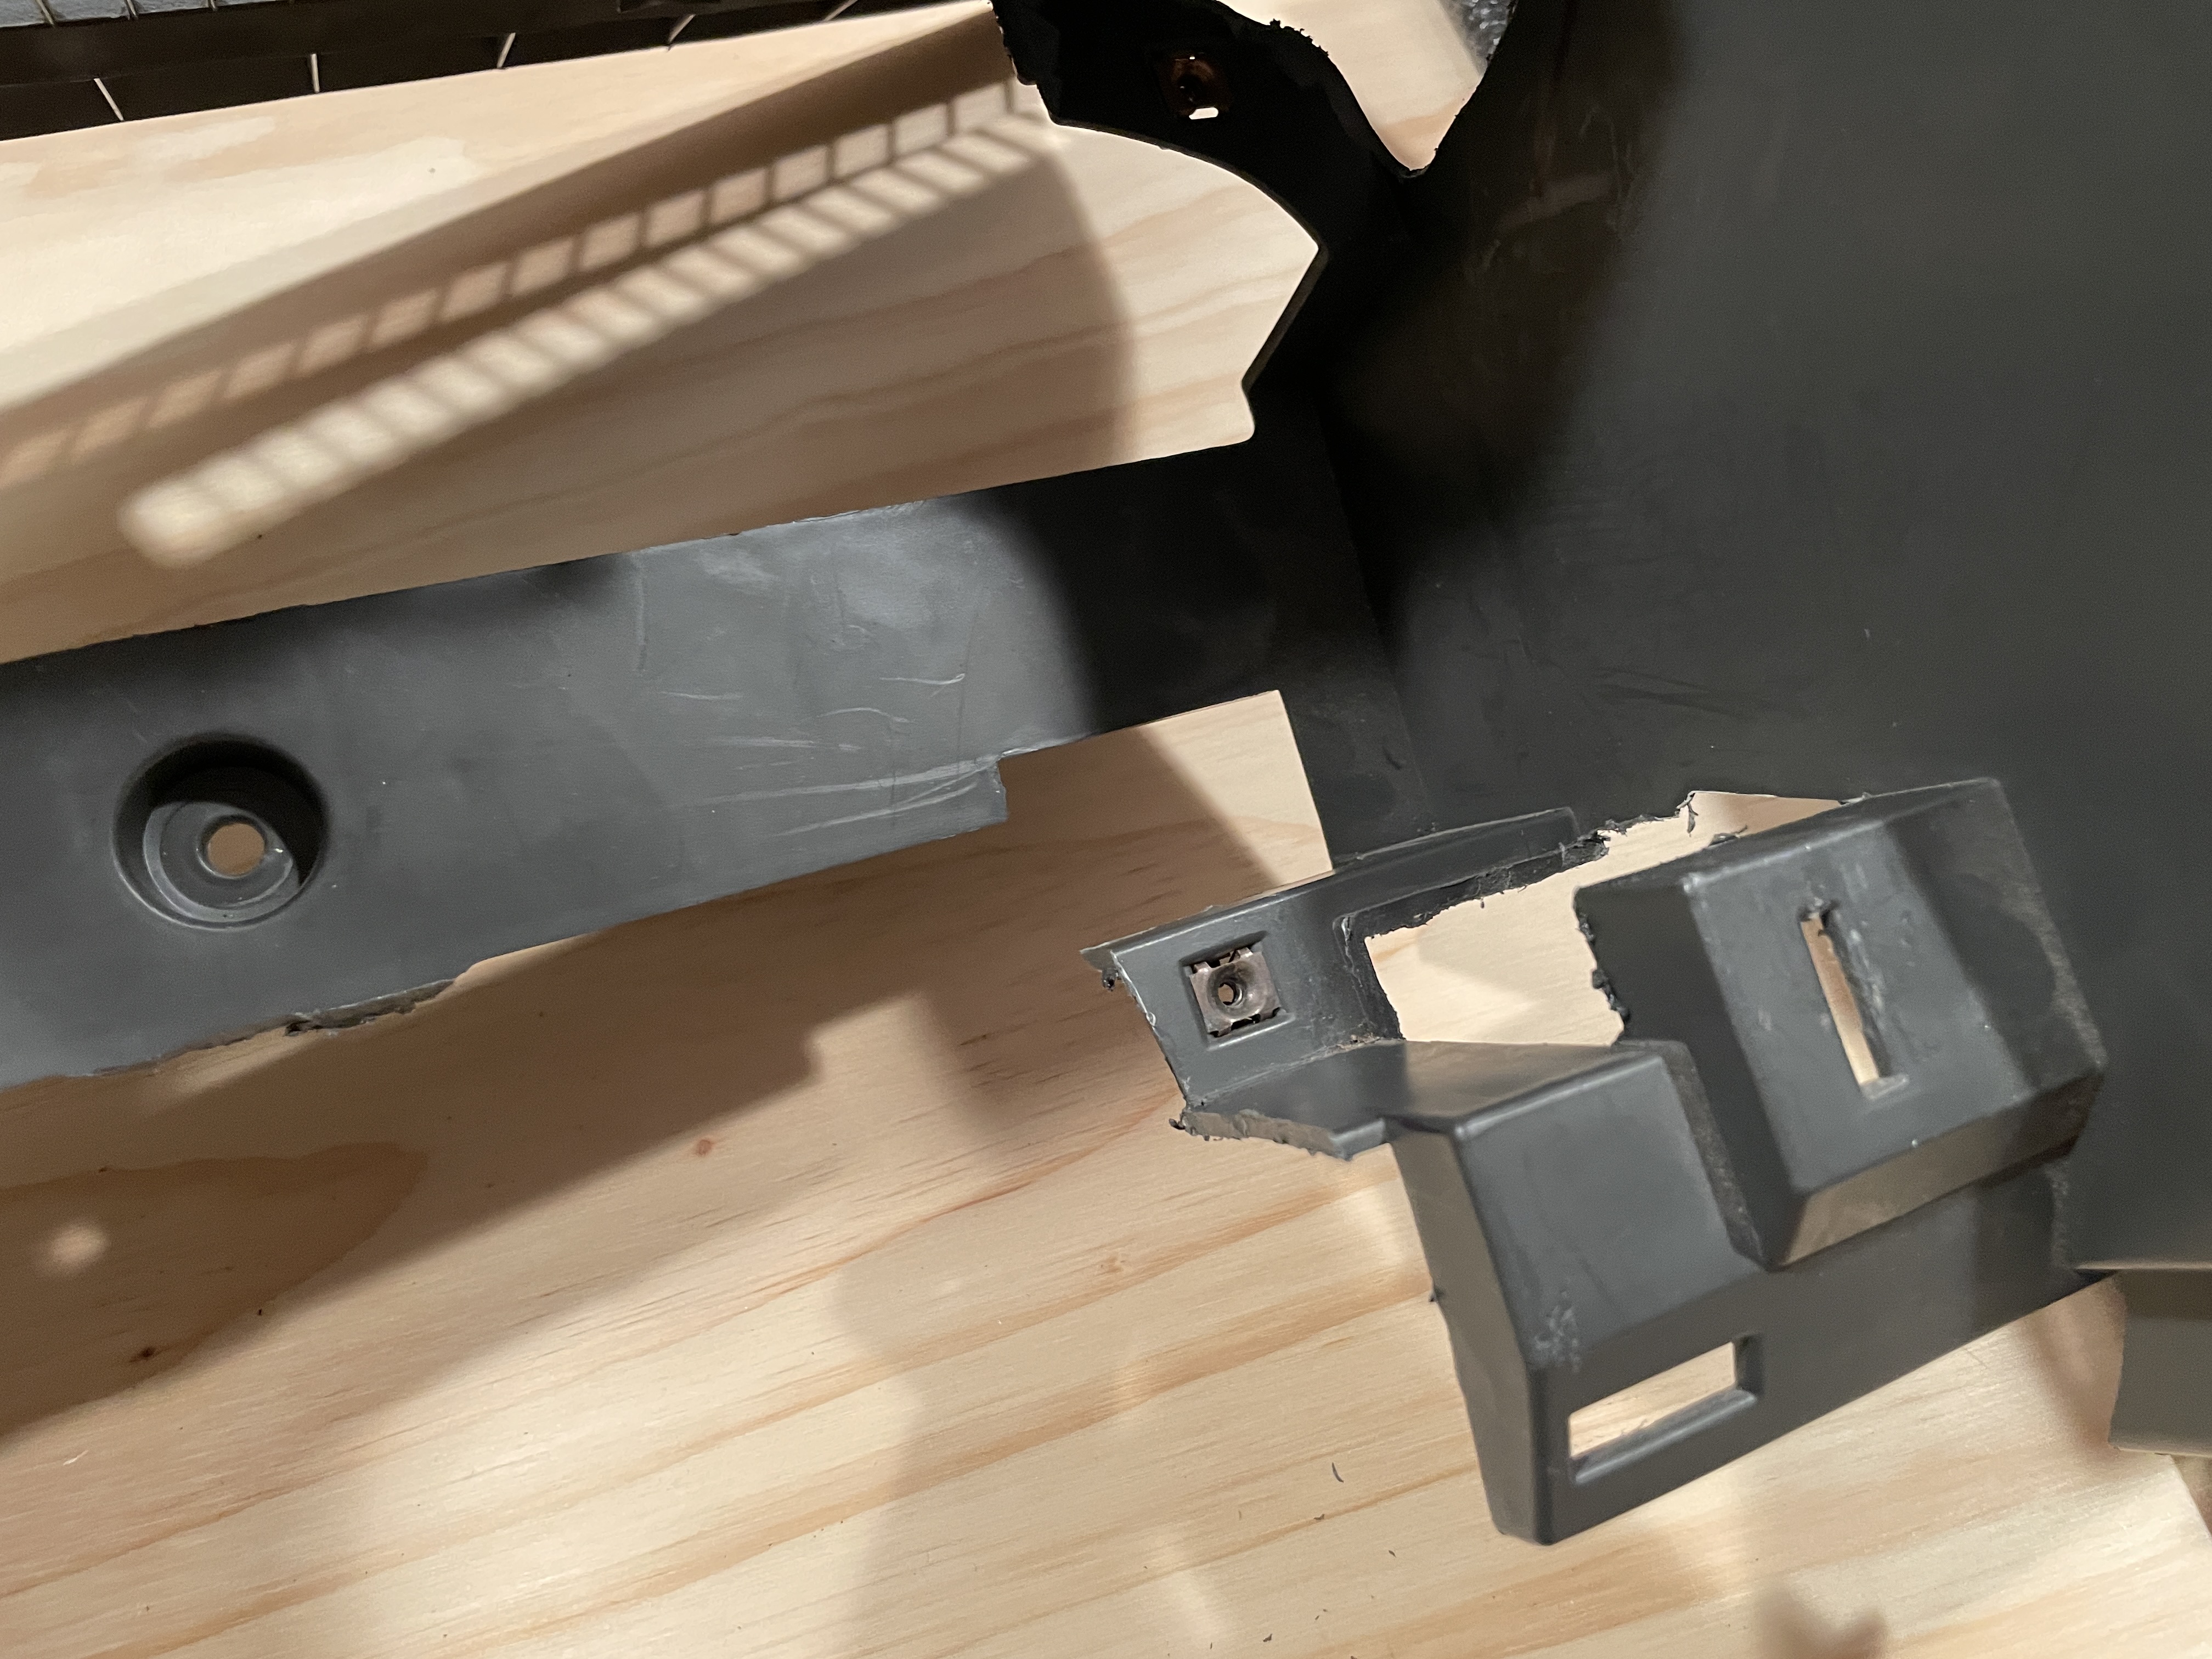
Fig. 2: View of the modified dashboard
When modifying your outer bezel, using your measuring tool of choice, mark 2” in from the edge on the lower shroud. Lay your tape tangent to the 2” point and align the tape so that it sits parallel to the face of the bezel. You’ll use the tape line as your guide for your cut with your Dremel tool / cutoff wheel.
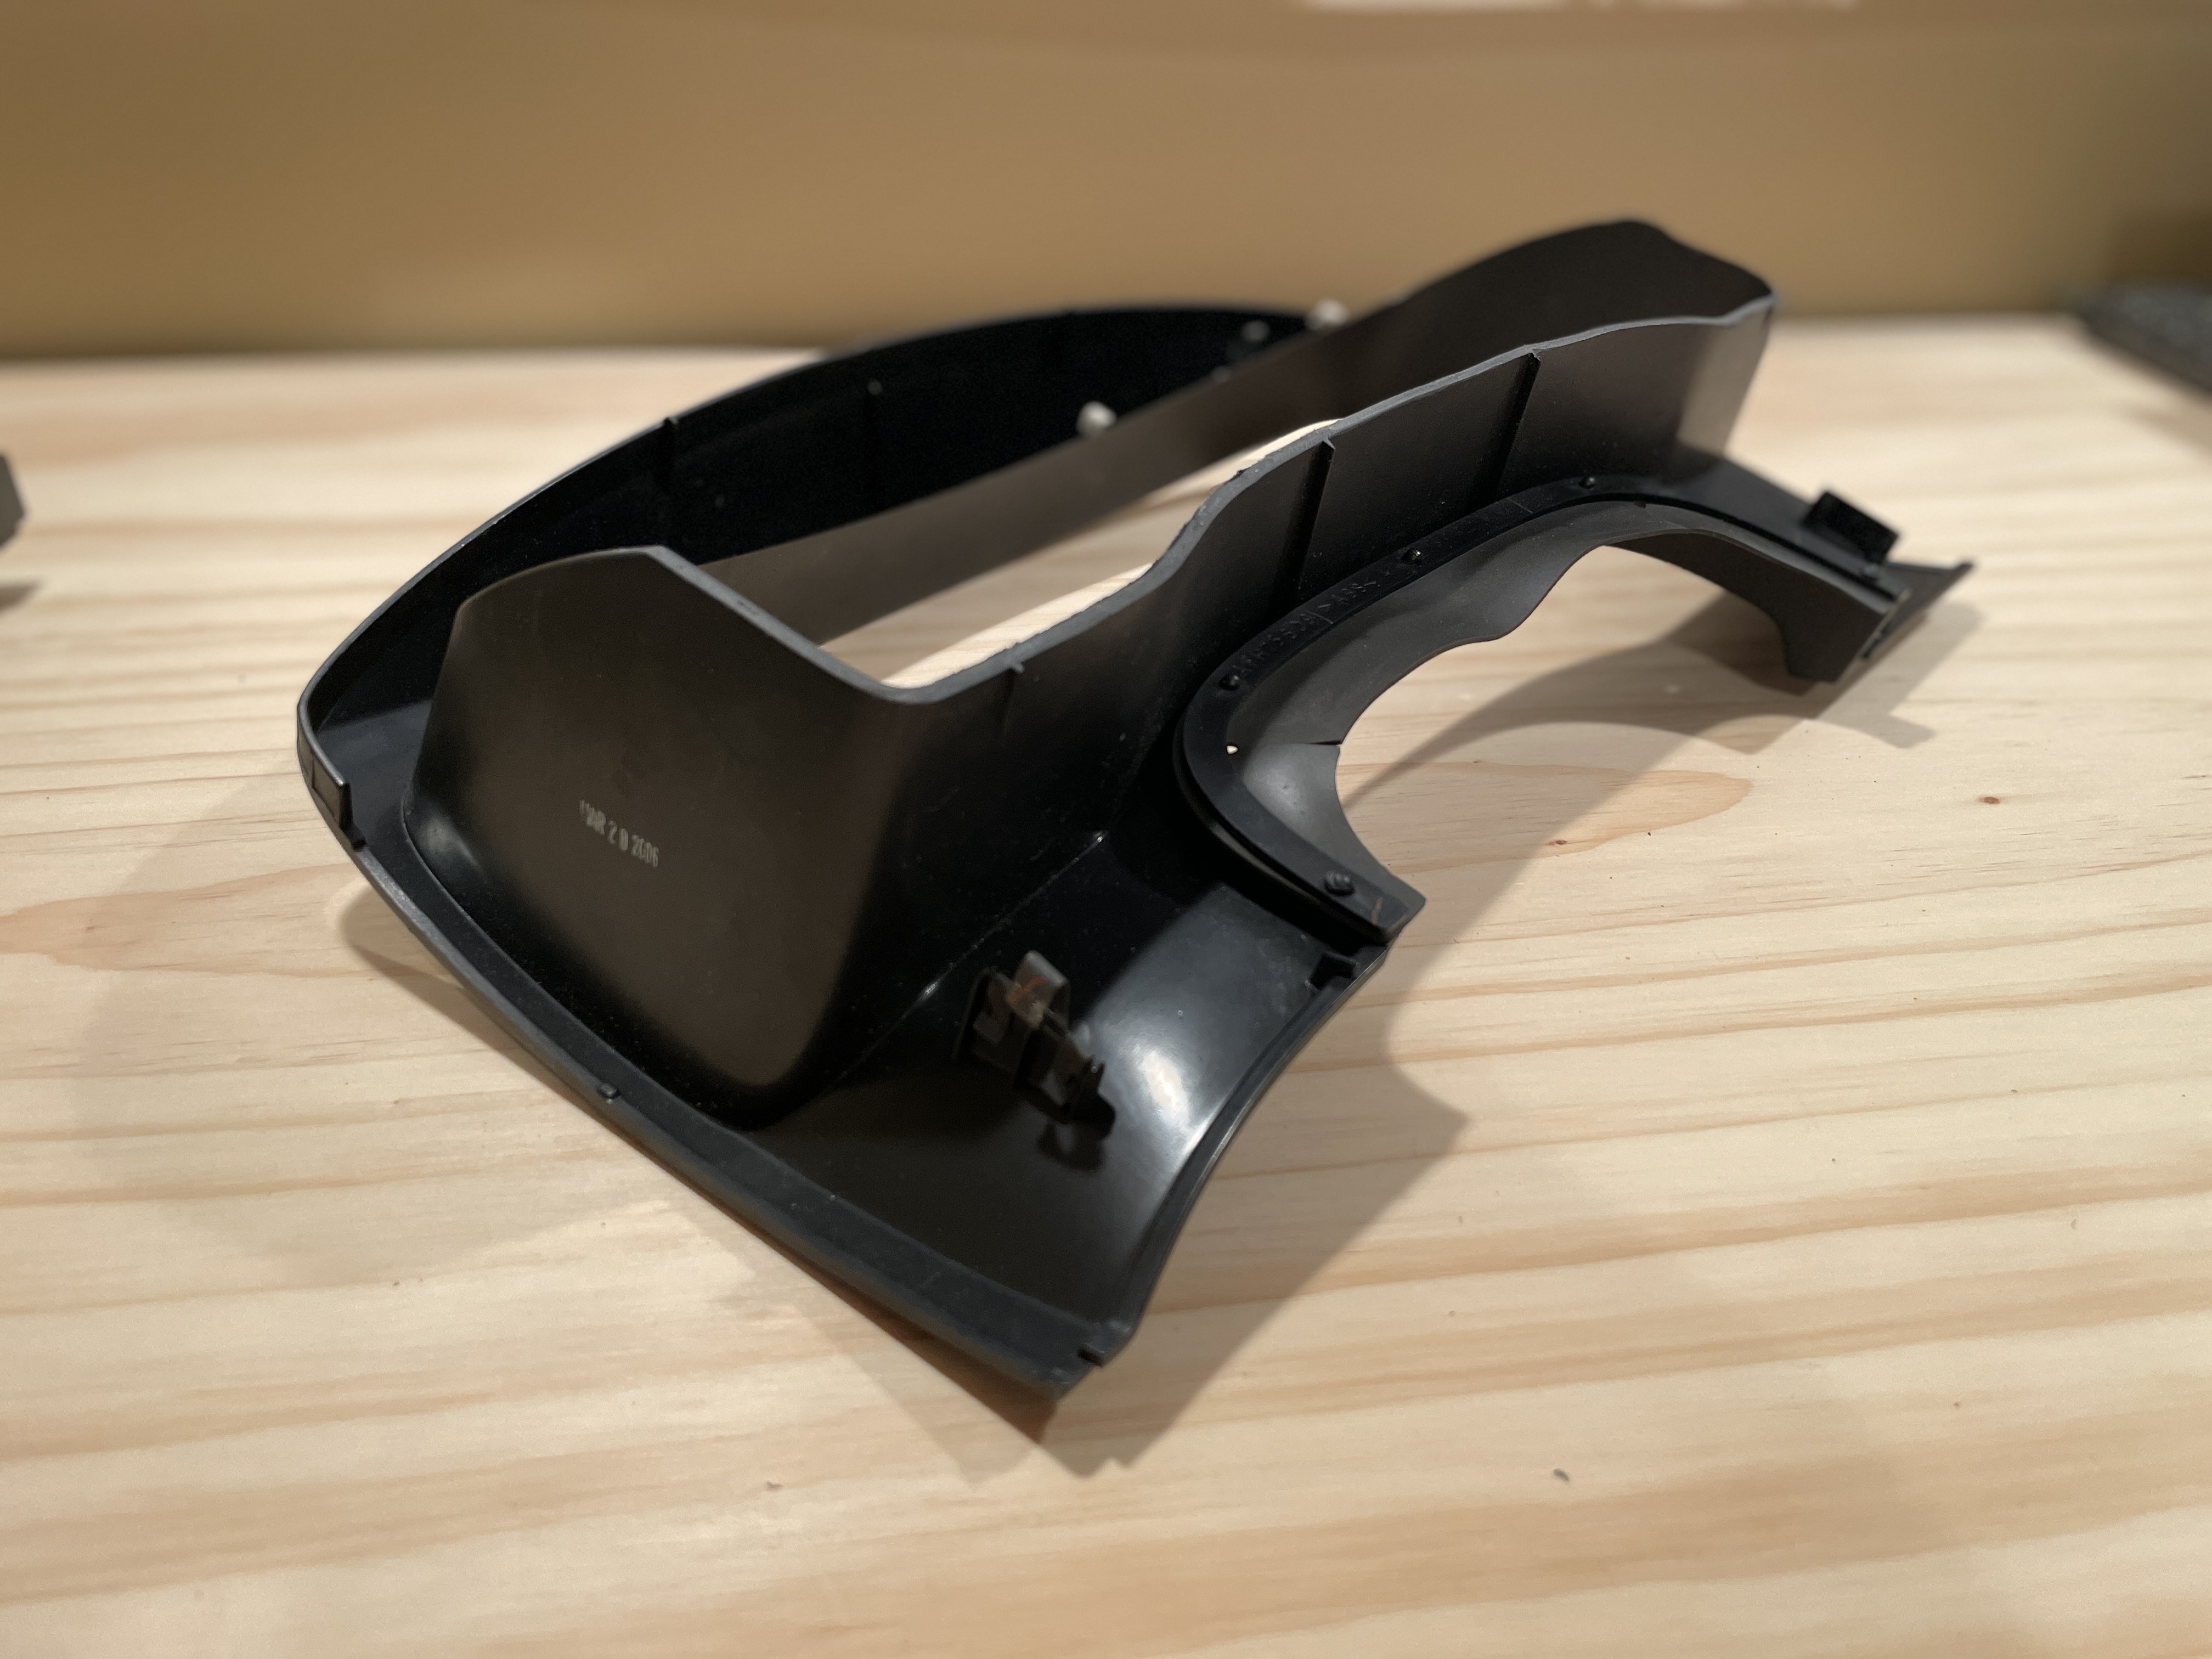
Fig. 3: Cut outer bezel
Once satisfied with your tape lines, break out the cutoff wheel and carefully cut off the excess portions of the upper and lower shrouds. Test fit with the screen installed in our mount to see if more material needs to come off.
Once everything is verified and fitting as desired, use a small, fine file to break the cut edges and take down any burrs. Smooth with a fine grit sandpaper to round out the filed edges and complete your final install of the bezel. Enjoy!
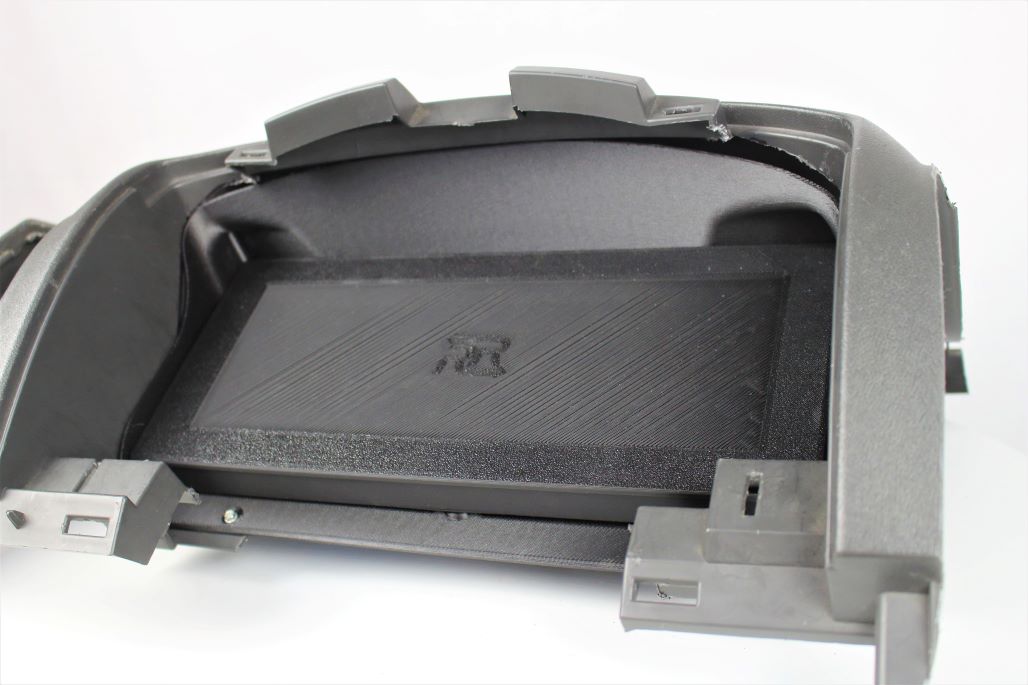
Fig 4: Installed 12.3” with our mount
Click here for a link to the mount's item page: Purchase
Legal
We’re not responsible for damages, injury, misuse, or any other cost to property, life or limb that may result directly or indirectly from the installation or use of our products. Use this paper as an informational guide only.