How to Install the Holley 12.3" Pro Dash in Your 1988-1994 OBS Chevy Truck
Published by Spencer C. on Feb 21st 2025
If you're looking to upgrade your 1988-1994 OBS Chevy full-size truck from analog gauges to a modern Holley 12.3" Pro Dash, this guide will walk you through the process.

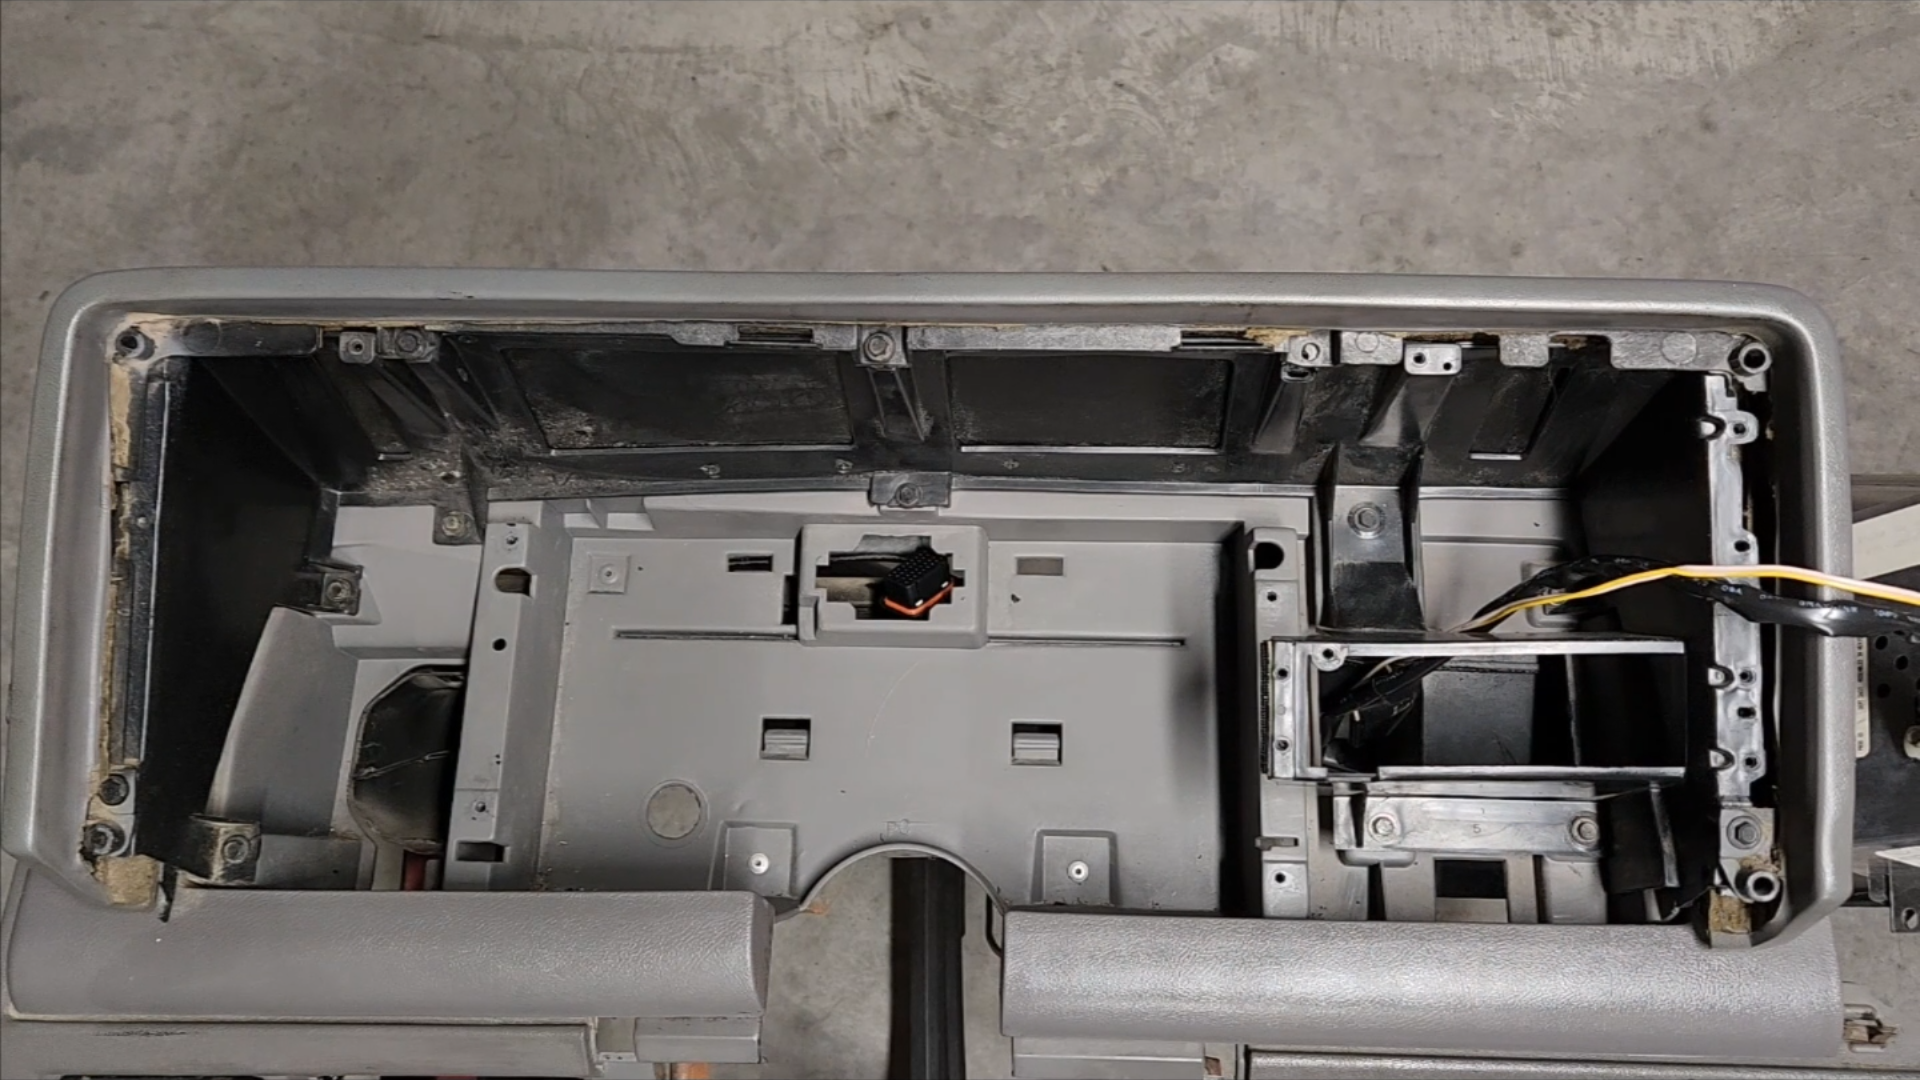
Disassembly: Removing the Stock Cluster
-
Remove the Dash Bezel – Unscrew the four T20 screws and gently pull the bezel out. Be mindful of additional switches (fog lights, wipers, headlights) that may need unplugging.
-
Take Out the Air Duct – Held by a single 7mm screw, this piece wiggles out easily.
-
Remove the HVAC Controls & Radio – Unscrew and disconnect both units.
-
Remove the Stock Gauge Cluster – Undo the four mounting screws, unclip the gear selector cable, and carefully pull out the cluster.

Installing the Holley 12.3" Pro Dash
-
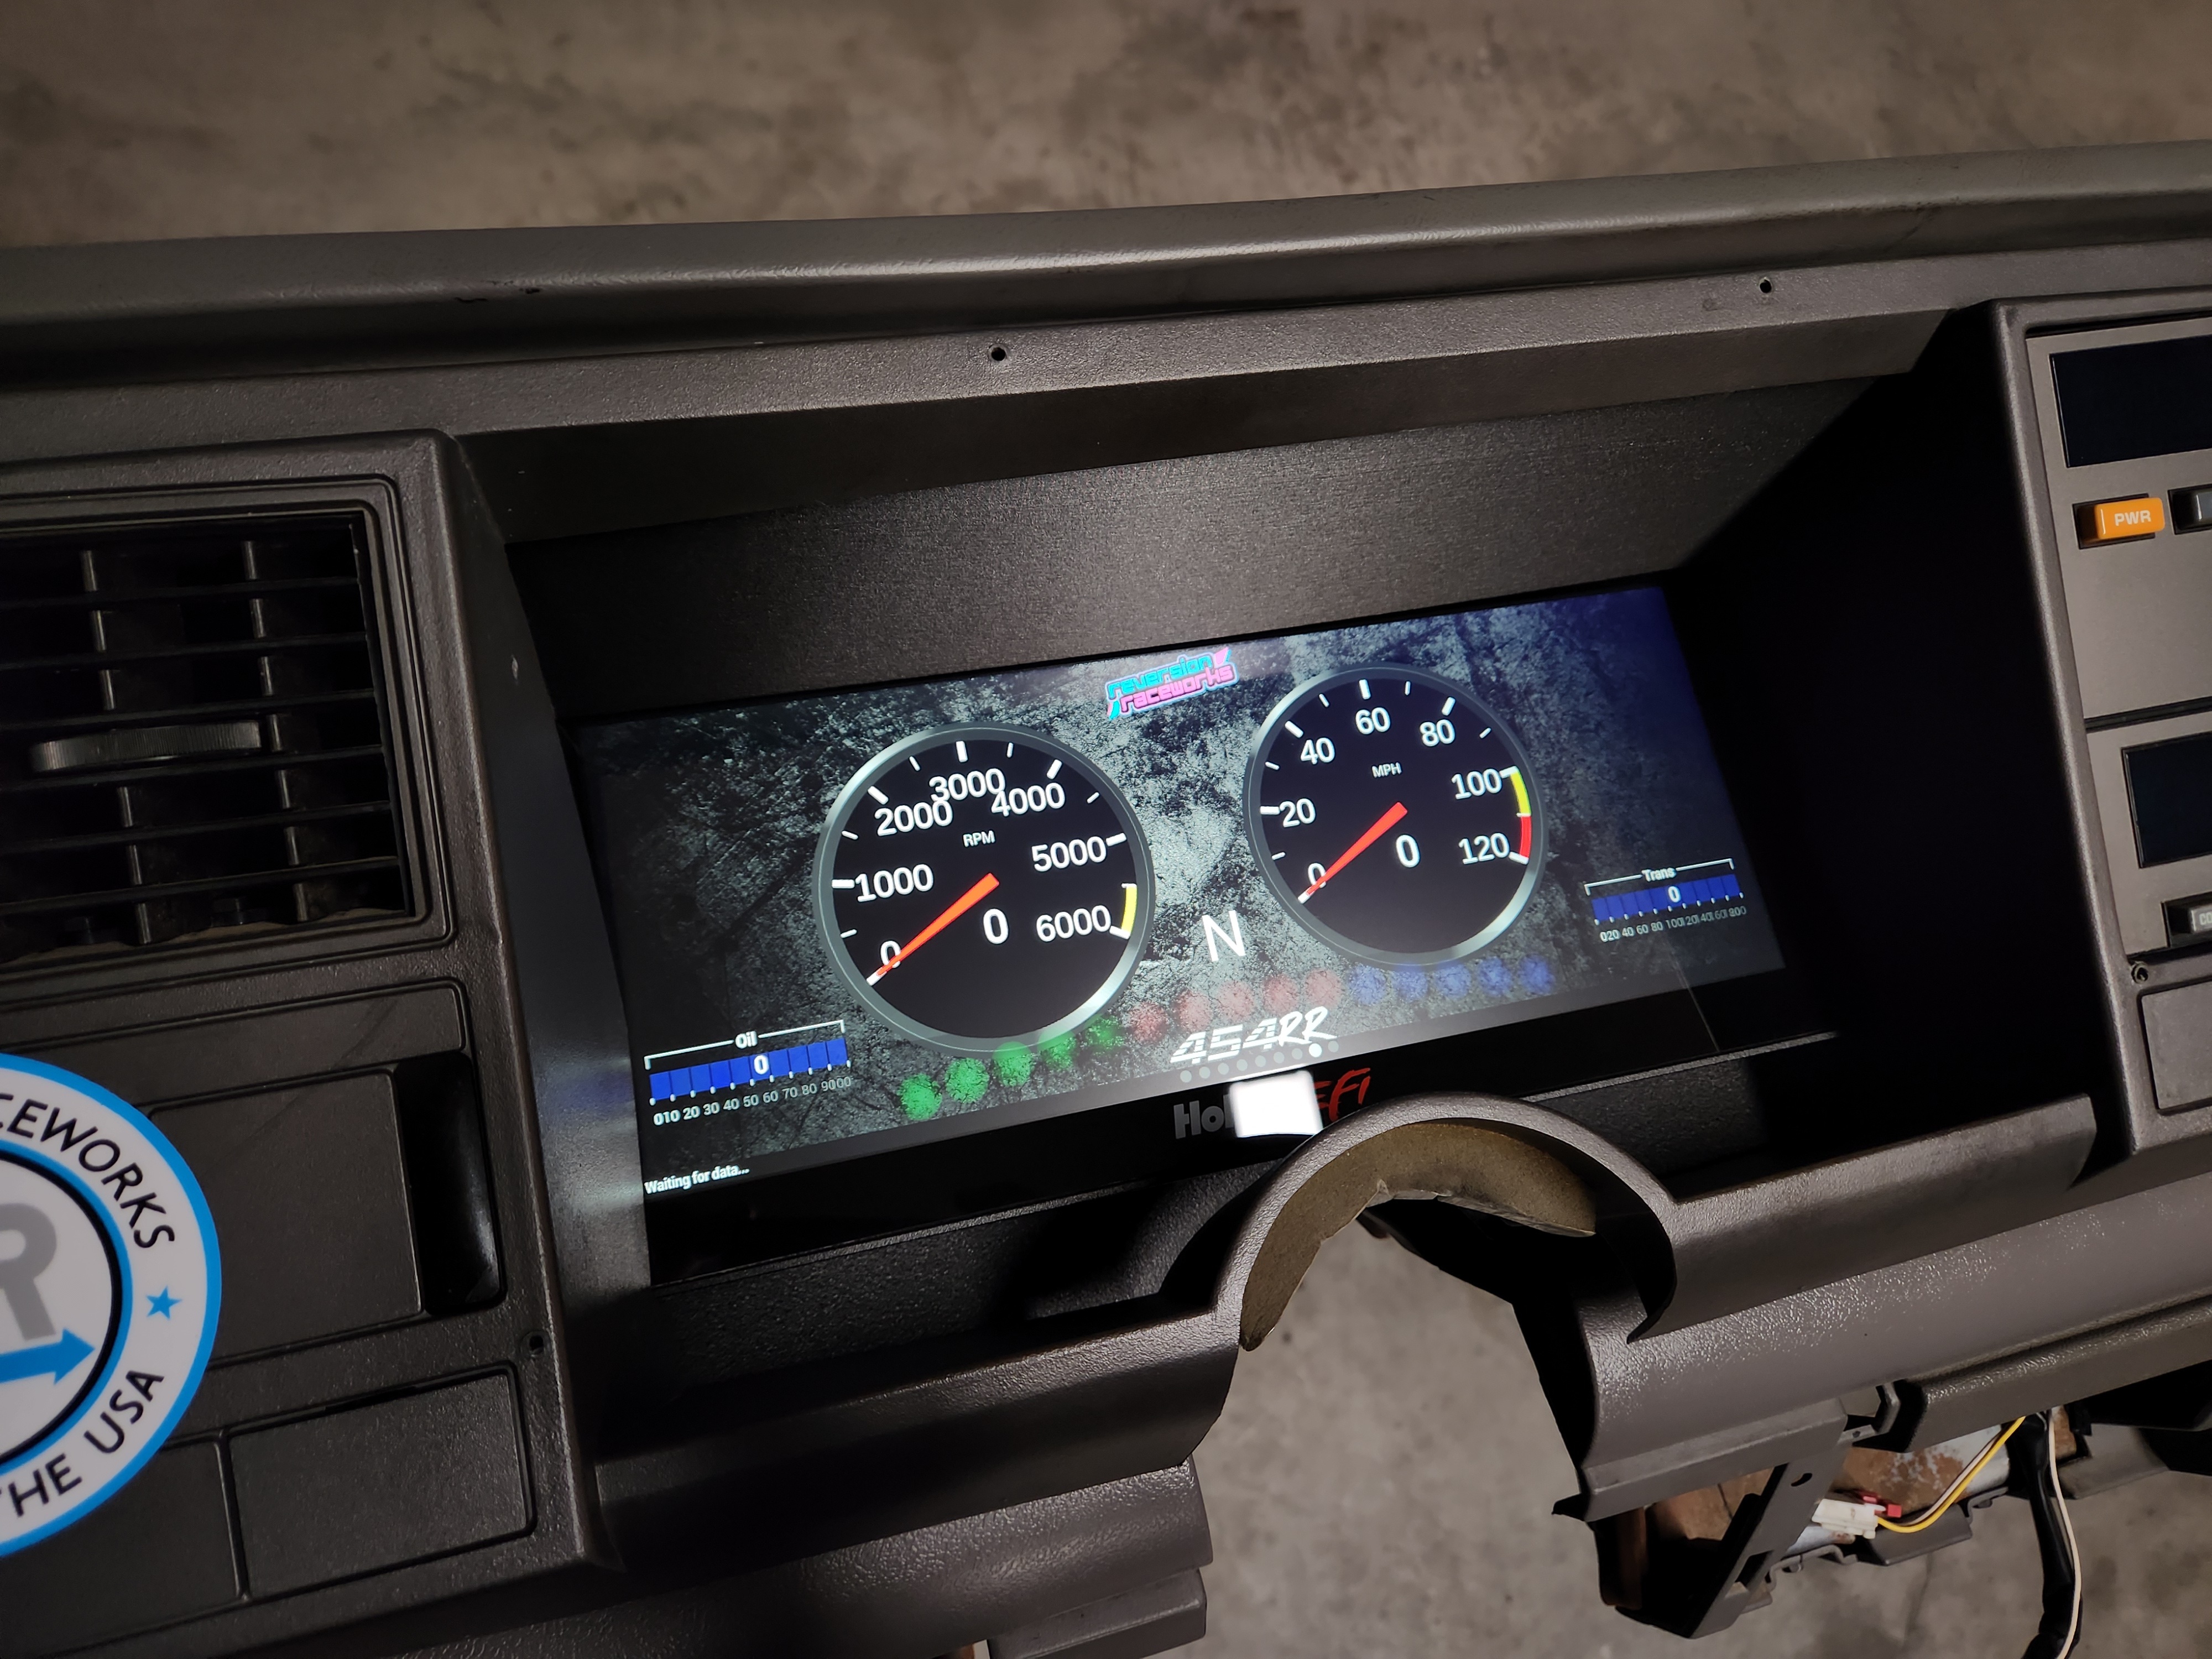
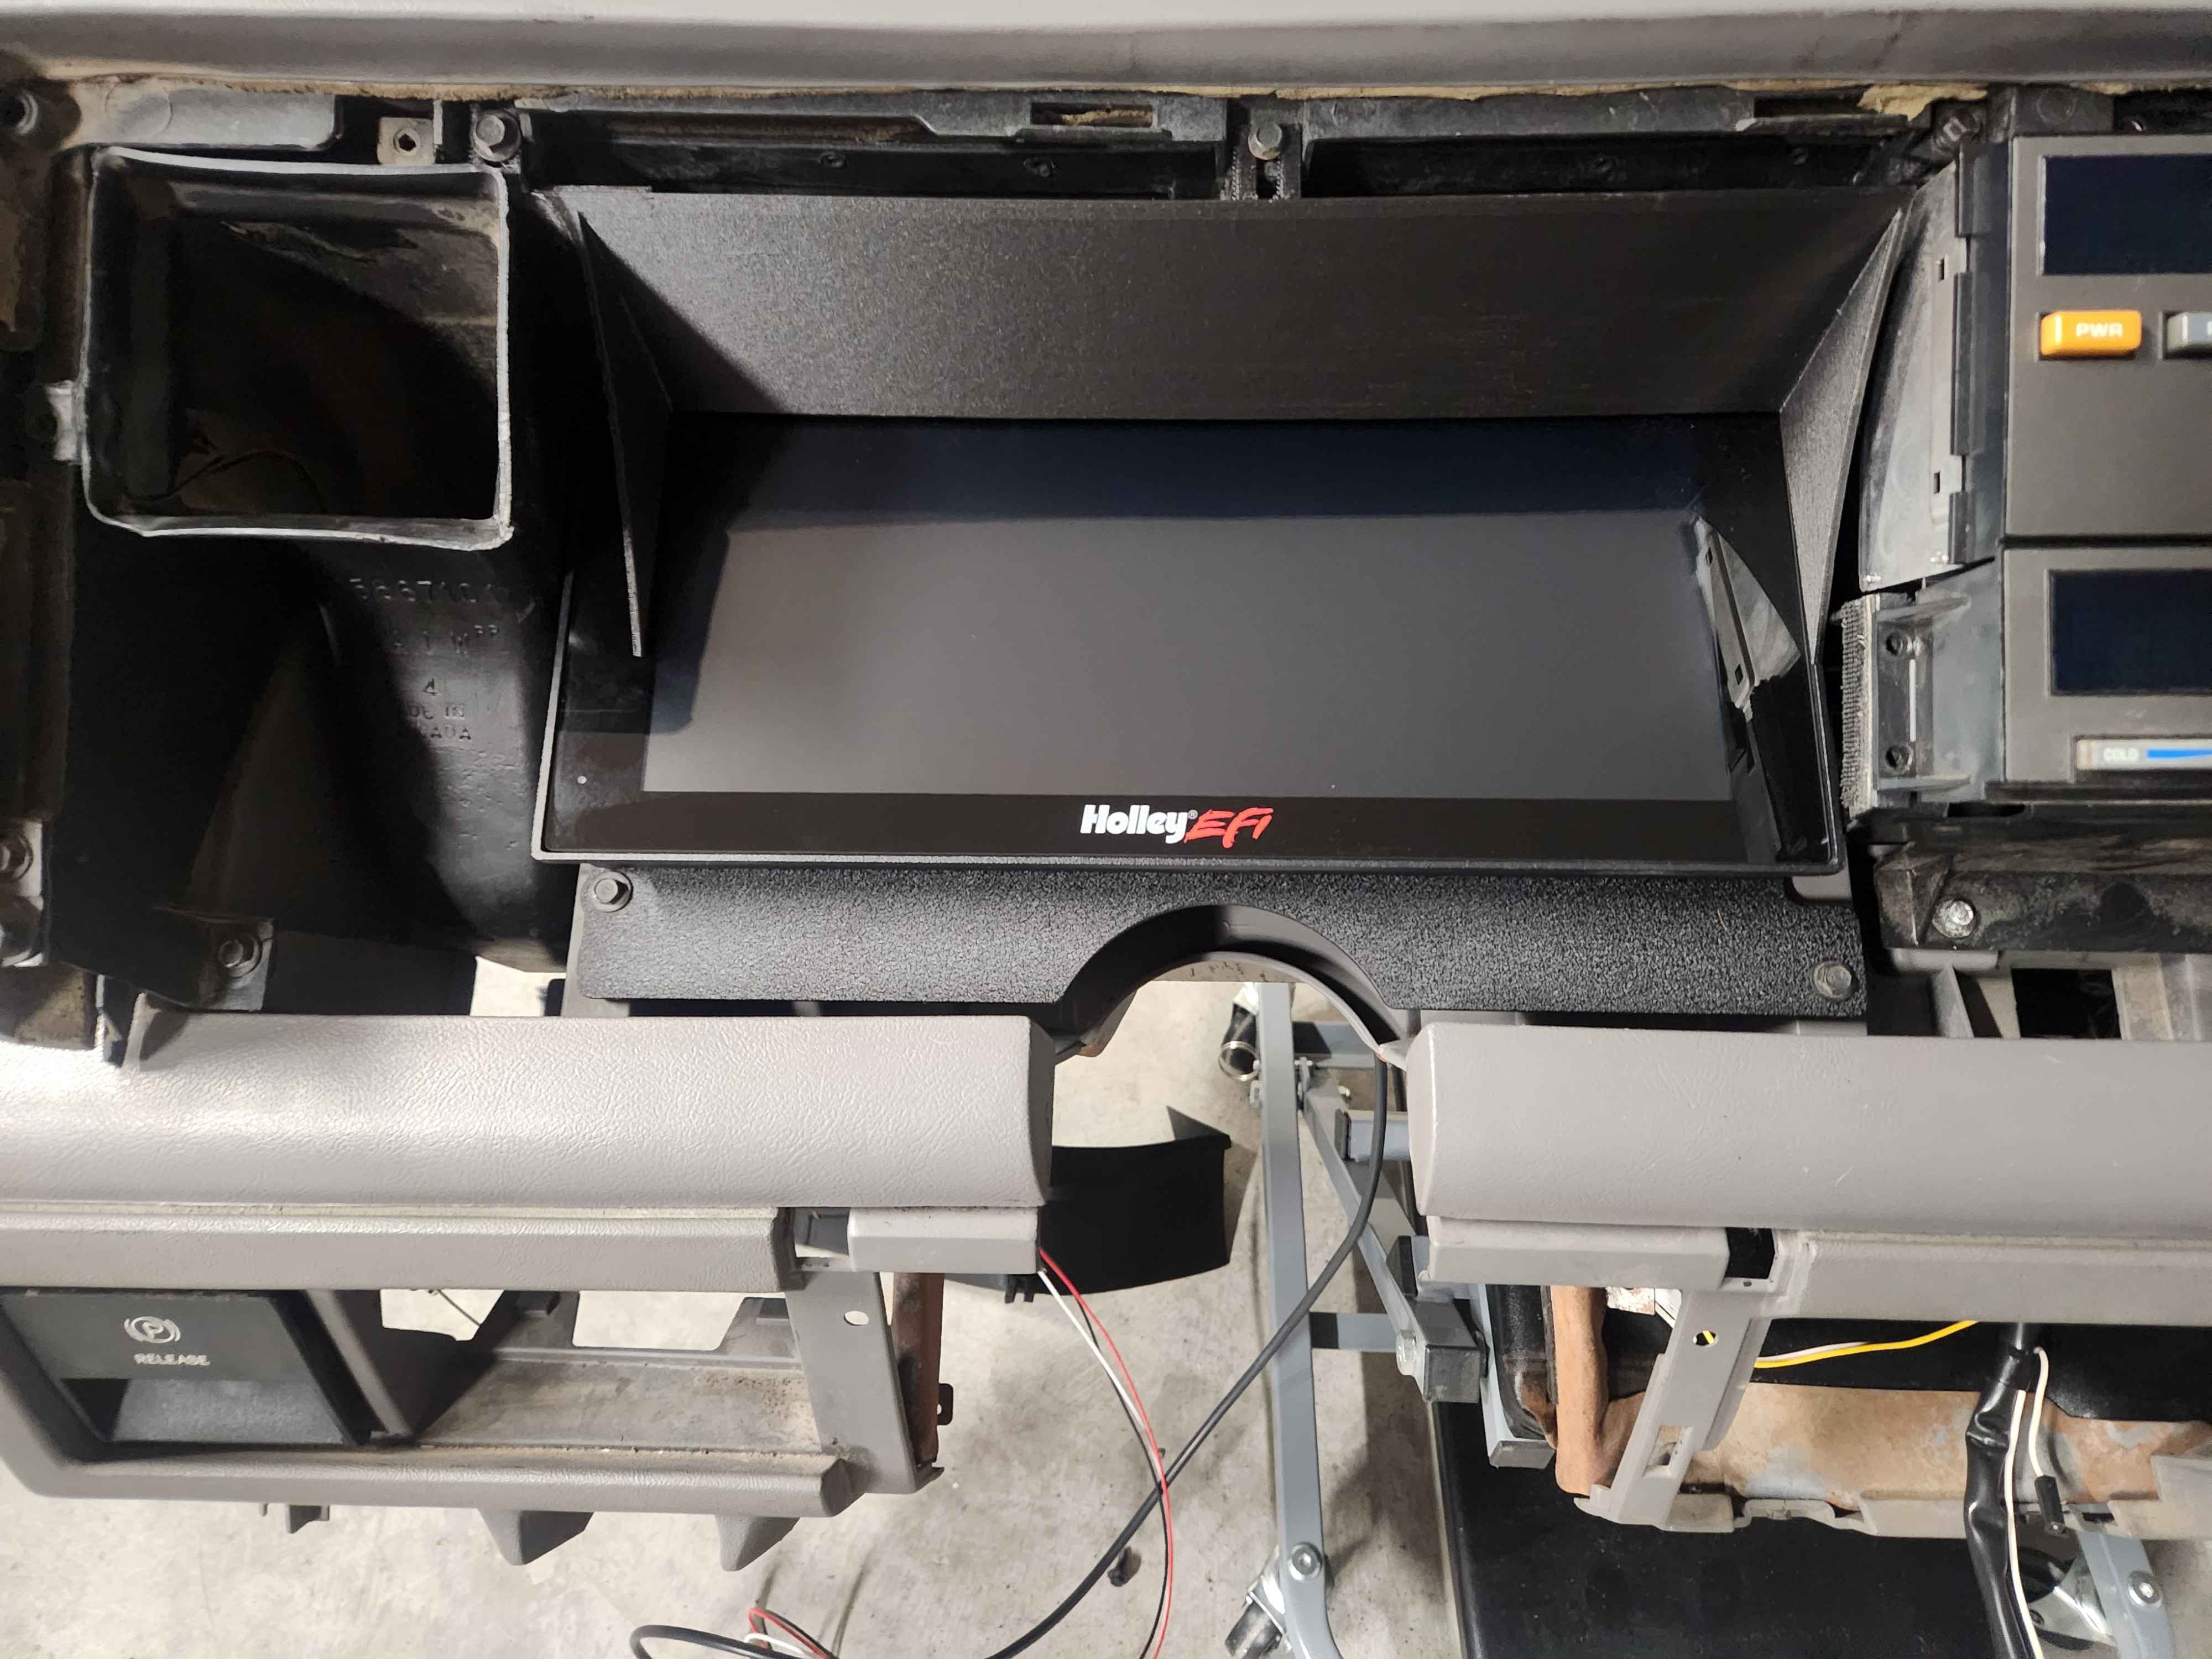
Precision-Engineered Fit – The Reversion Raceworks 3D printed shroud and CNC laser cut mount perfectly matches the stock cluster’s dimensions and mounting points.
-
No Major Modifications Required – The three factory mounting holes are used, and the Holley dash secures with six screws. Pre-cut openings allow for installation without additional cutting to the dashboard. Minor trimming to the dash bezel is requited, however.
-
High-Quality Construction – The mount is made from ⅛-inch aluminum with a wrinkle black powder coat finish for durability and a clean look.

Reassembling the Dash
-
Slide the new dash into place – Secure it with the three factory mounting bolts.
-
Reinstall the HVAC and radio – If upgrading, consider Reversion Raceworks' radio replacement panel for a cleaner look.
-
Install the Carbon Fiber reinforced Shroud – This 3D-printed part fills gaps around the Holley screen, ensuring an OEM-style finish.
-
Final Modifications – Two small cutouts (approx. 2” x 1”) on the bezel are needed to accommodate the screen height. Use an angle grinder for a precise fit.
-
Reconnect all switches and reinstall the bezel – Secure everything with four screws.
The Final Result
Once installed, power up the system, and the Holley Pro Dash boots up beautifully, providing a modern, high-tech display in your classic OBS truck. With this upgrade, you’ll not only have a cleaner, more functional dash, but your truck will stand out as one of the most high-tech OBS builds on the road! If this is something you want for your build, you can purchase it here!

