

Our Dashboard Design Process
By Spencer C. on Feb 8th 2023
A common question we get asked from people interested in having a part made is "I need a custom part for my ride - what does the process look like to turn my OEM part into the modified version?".
From seat brackets to headlamp housings, we've had more than a few custom requests come our way - here's how we turn your dash idea into a finished product.
The Foundation
A lifetime use part is built on a strong foundation, and our design process starts at the source - the OEM dash cluster. Often times the customer has one lying around that we can use, but other times we source our own an U-Pull yards or online sites. The most important part of this process is to ensure the cluster is in good condition, without missing pieces or brackets, and is not significantly warped so we can get the most accurate measurements possible.
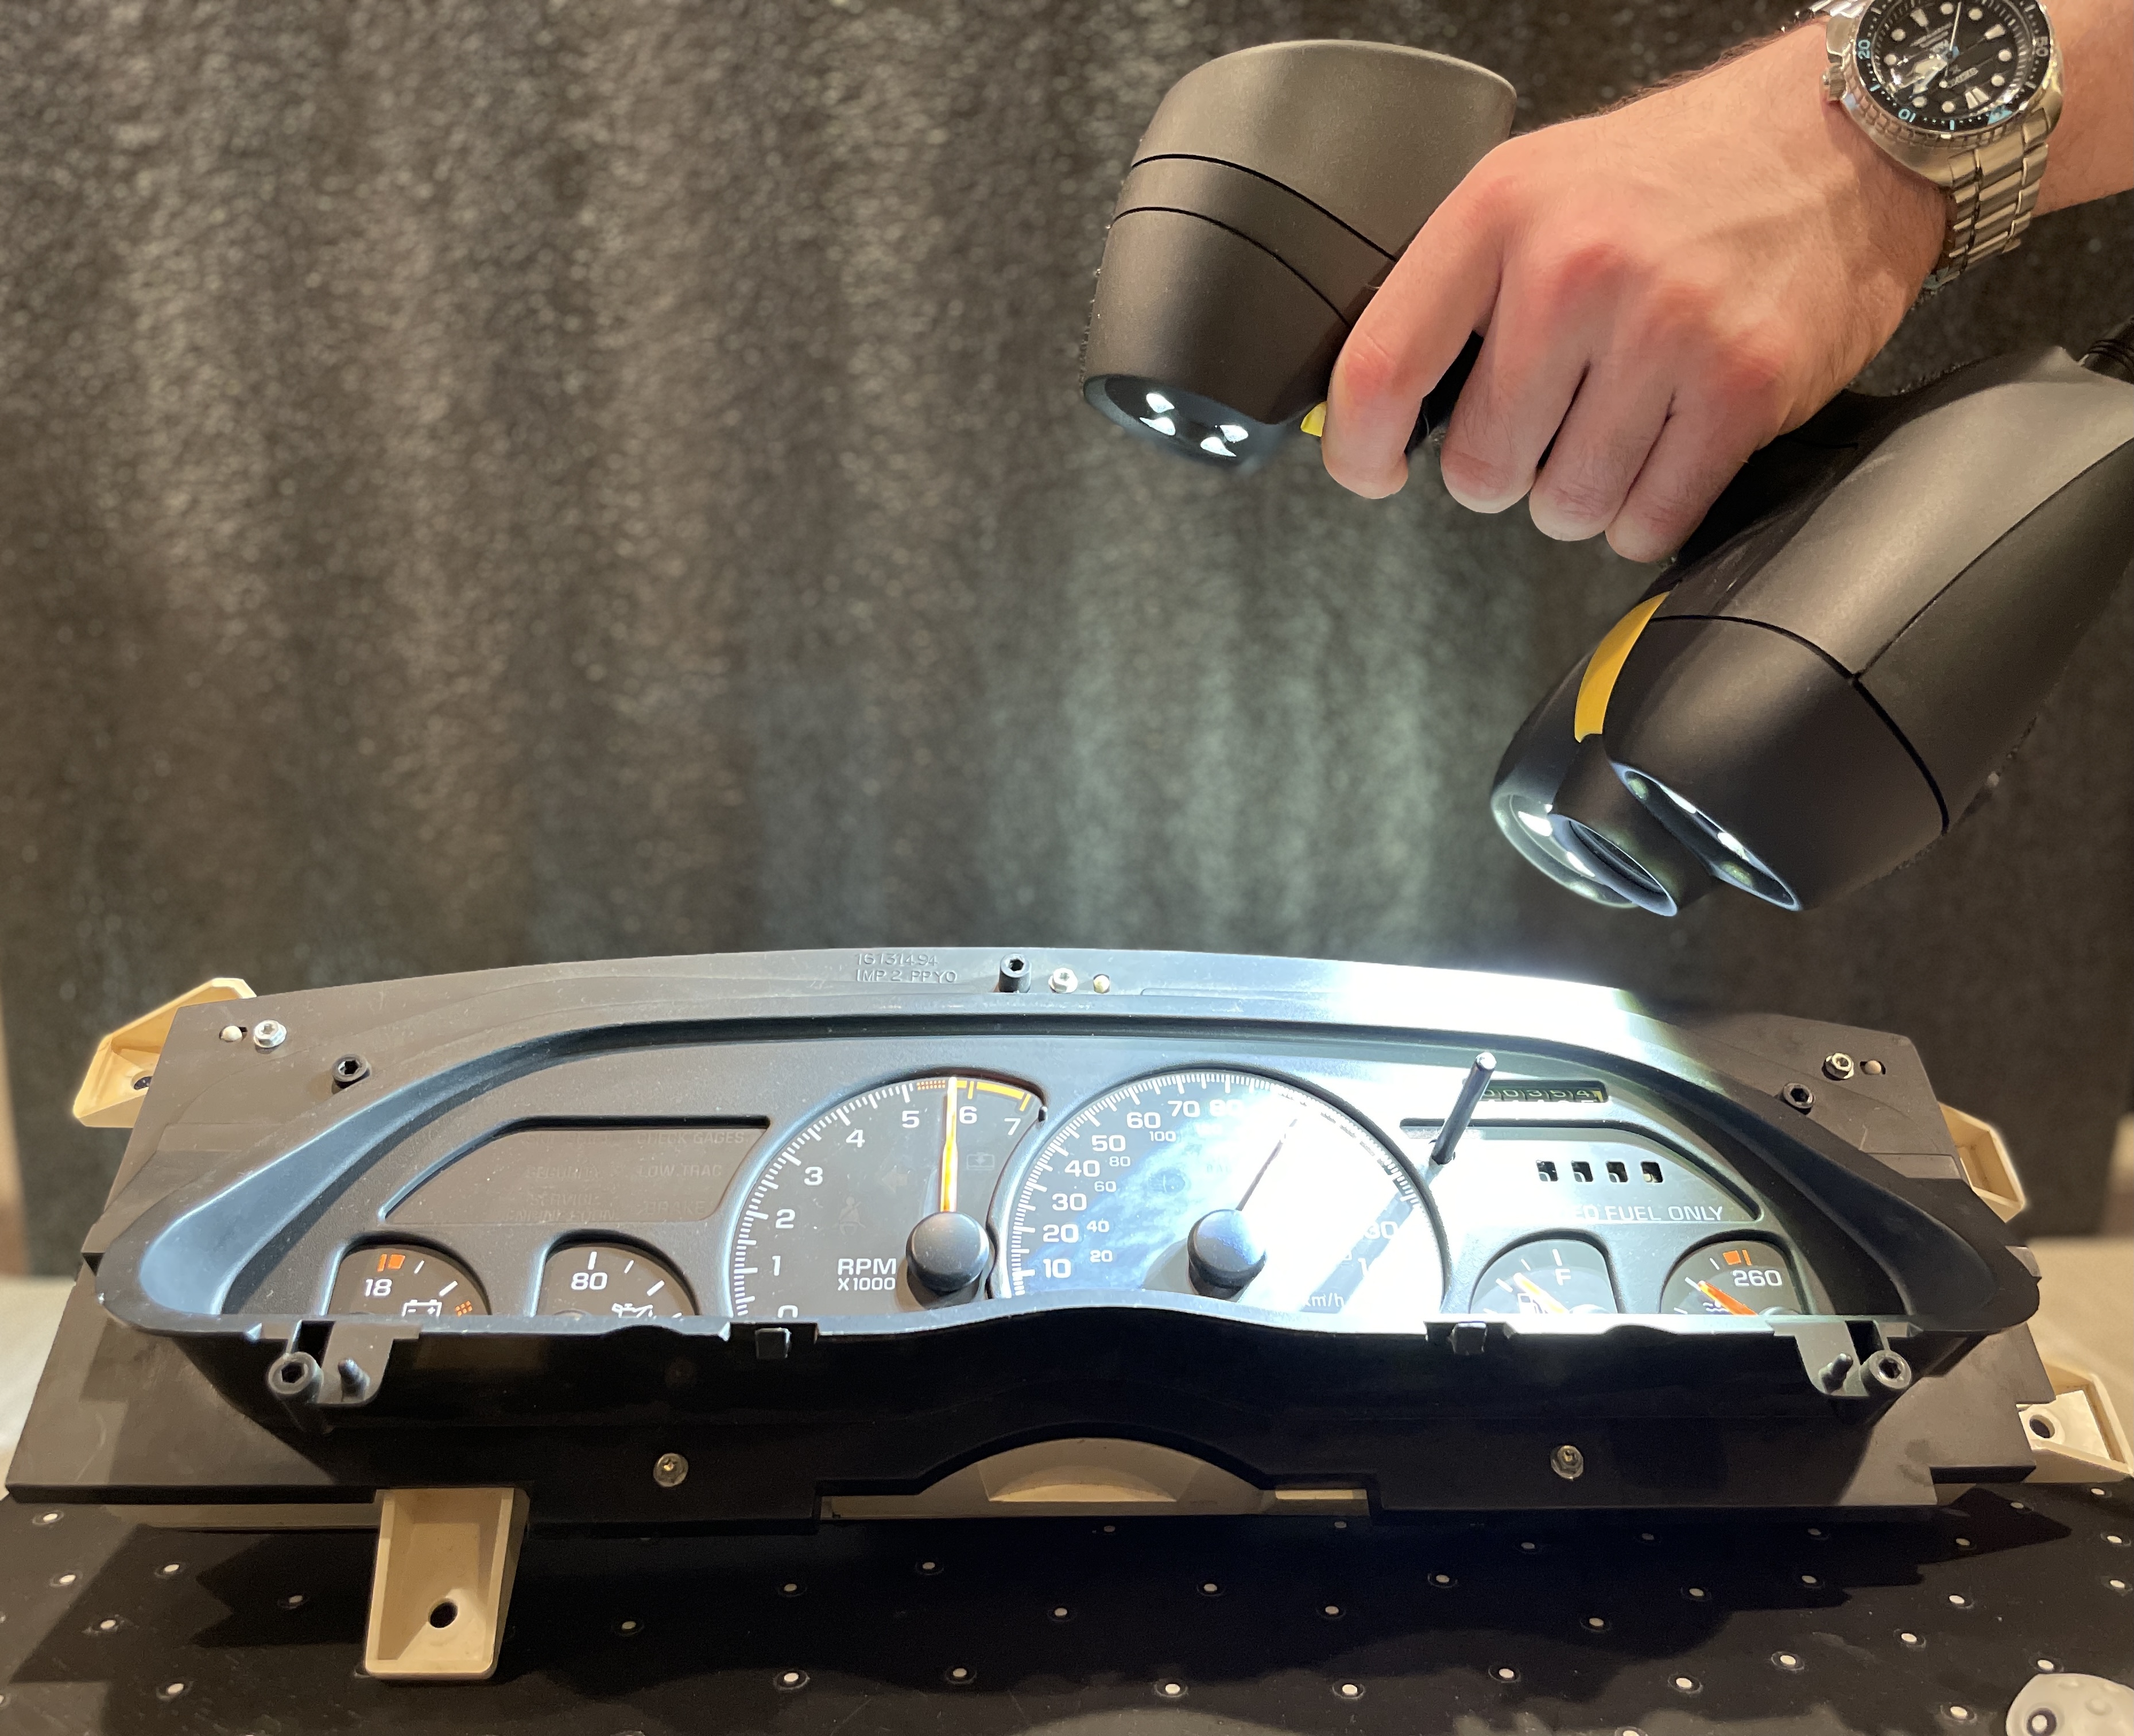
The Point Cloud
Once we have the part in our shop, we clean it up and prepare it for 3D scanning. Our Peel3D scanners are seriously impressive machines, that are able to 'look' at a part and pull data from it. Instead of having to dimension out parts by hand, the scanner is able to capture every detail of the part to just a few thousandths of an inch accuracy! All the data collection is contactless - reflections of a complex light patterns are captured by the scanner cameras which creates a 'cloud' of points that define the surface of the part.
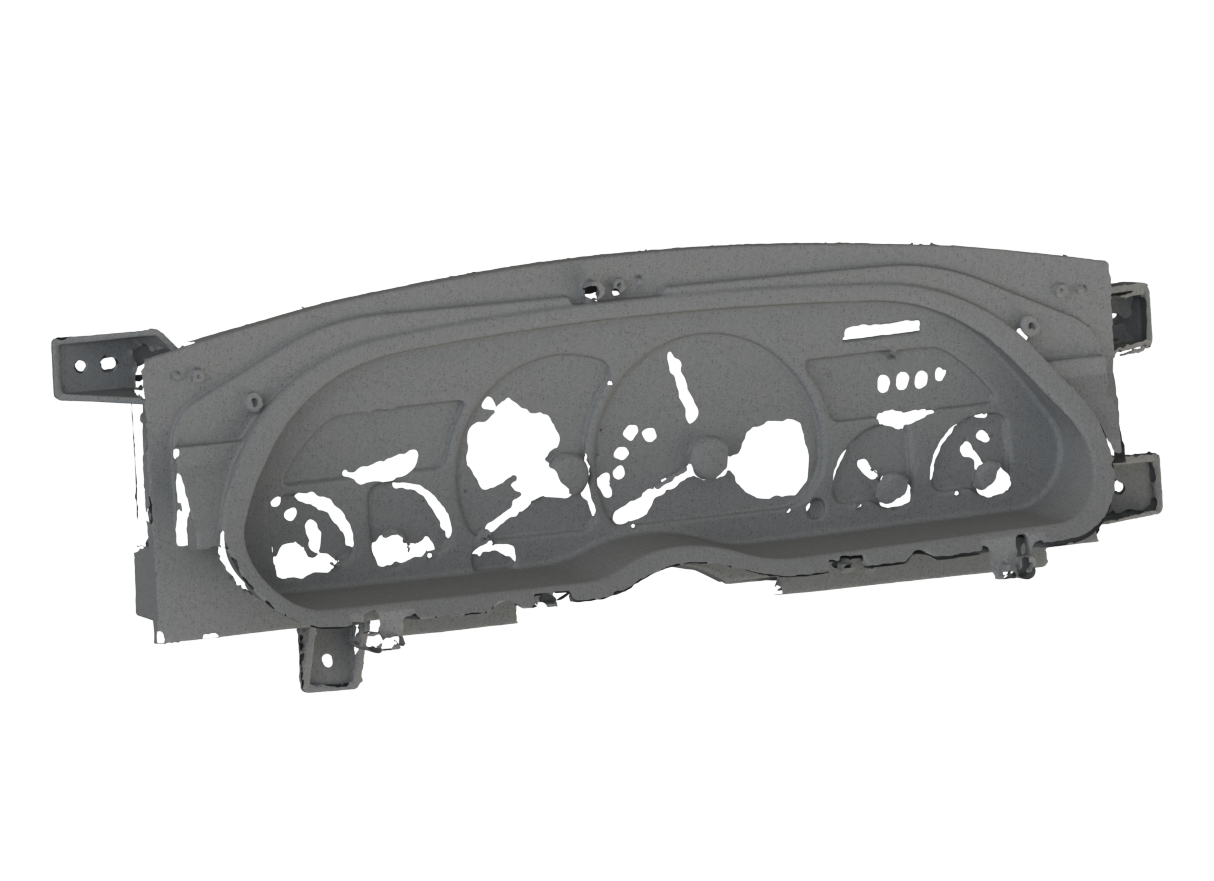
2. The Partially Scanned Part - You Can See Areas Still Needing to be Filled In
Modeling Career
Once the scan is complete, we've still got a ways to go before we can start making your part. We first transfer the scan into specialized design software, and check that all the data looks good. Then, we start pulling critical dimensions, curves, and outlines to build a 3-dimensional solid model of the part. This stage is we can remove the analog gauges, and replace them with a flat face. Finally, on top of that flat section we can build in our EFI screen mounting points. This process can range from a few minutes to days of work, but the end result is a fully fleshed out model ready to manufacture.
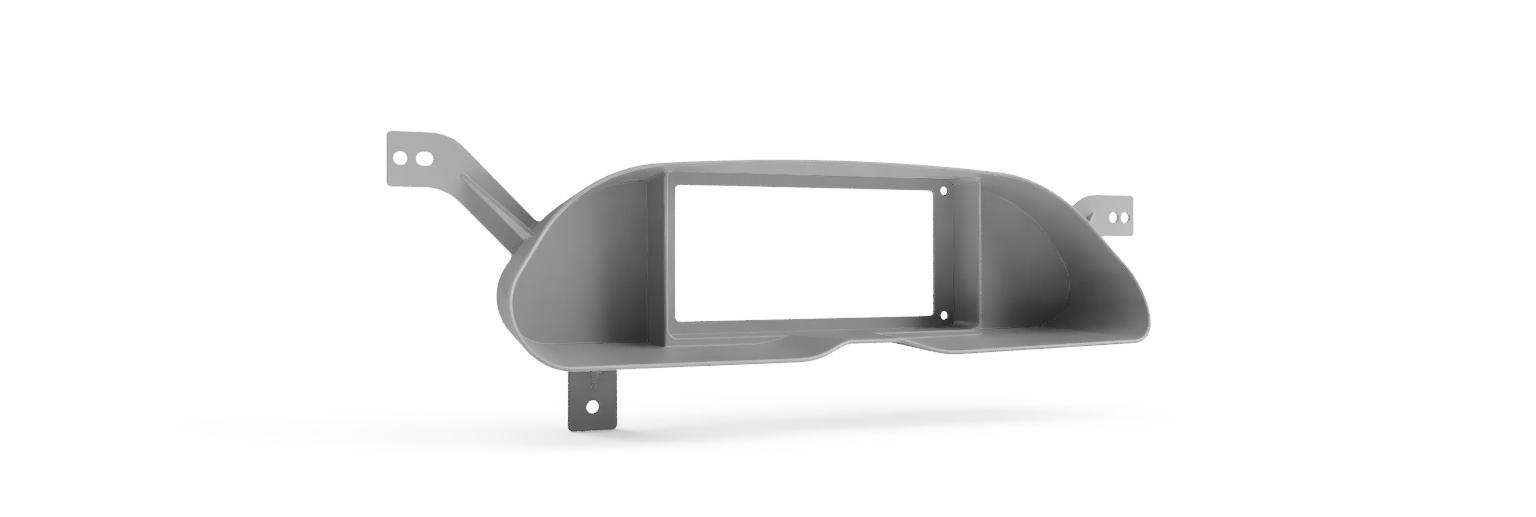
3. A Finished Model Modified for an EFI Screen
The real power of this method is twofold - we've exactly re-created the OE design dimensionally, and you get to give us feedback on the design before the manufacturing process. If you wanted to add gauges, offset the screen, etc. these changes can be made rapidly and shown to you before the final part is delivered to meet your exact demand.
From Render to Reality
The last step of the process is to turn the finalized 3D model into a real-world part. We like to send out a prototype first to make sure everything lines up, that you like the layout of the part in person, and to check for interference issues with other components in the dash. Once we get the green light from you we're ready to roll!
The majority of our parts are made in-house using our specialized 3D printers. We've got years of intimate experience with these printers, and have spent a great deal of time to ensure the parts we produce are as accurate and strong as possible. We are capable of manufacturing parts in a multitude of exotic materials, but our favorite is a carbon fiber reinforced polymer that is extremely durable, heat and solvent resistant, and looks great. The final part can be installed as-is in the black finish, but can also be primed and painted with an interior paint (like SEM Colorcoat) to match your interior.
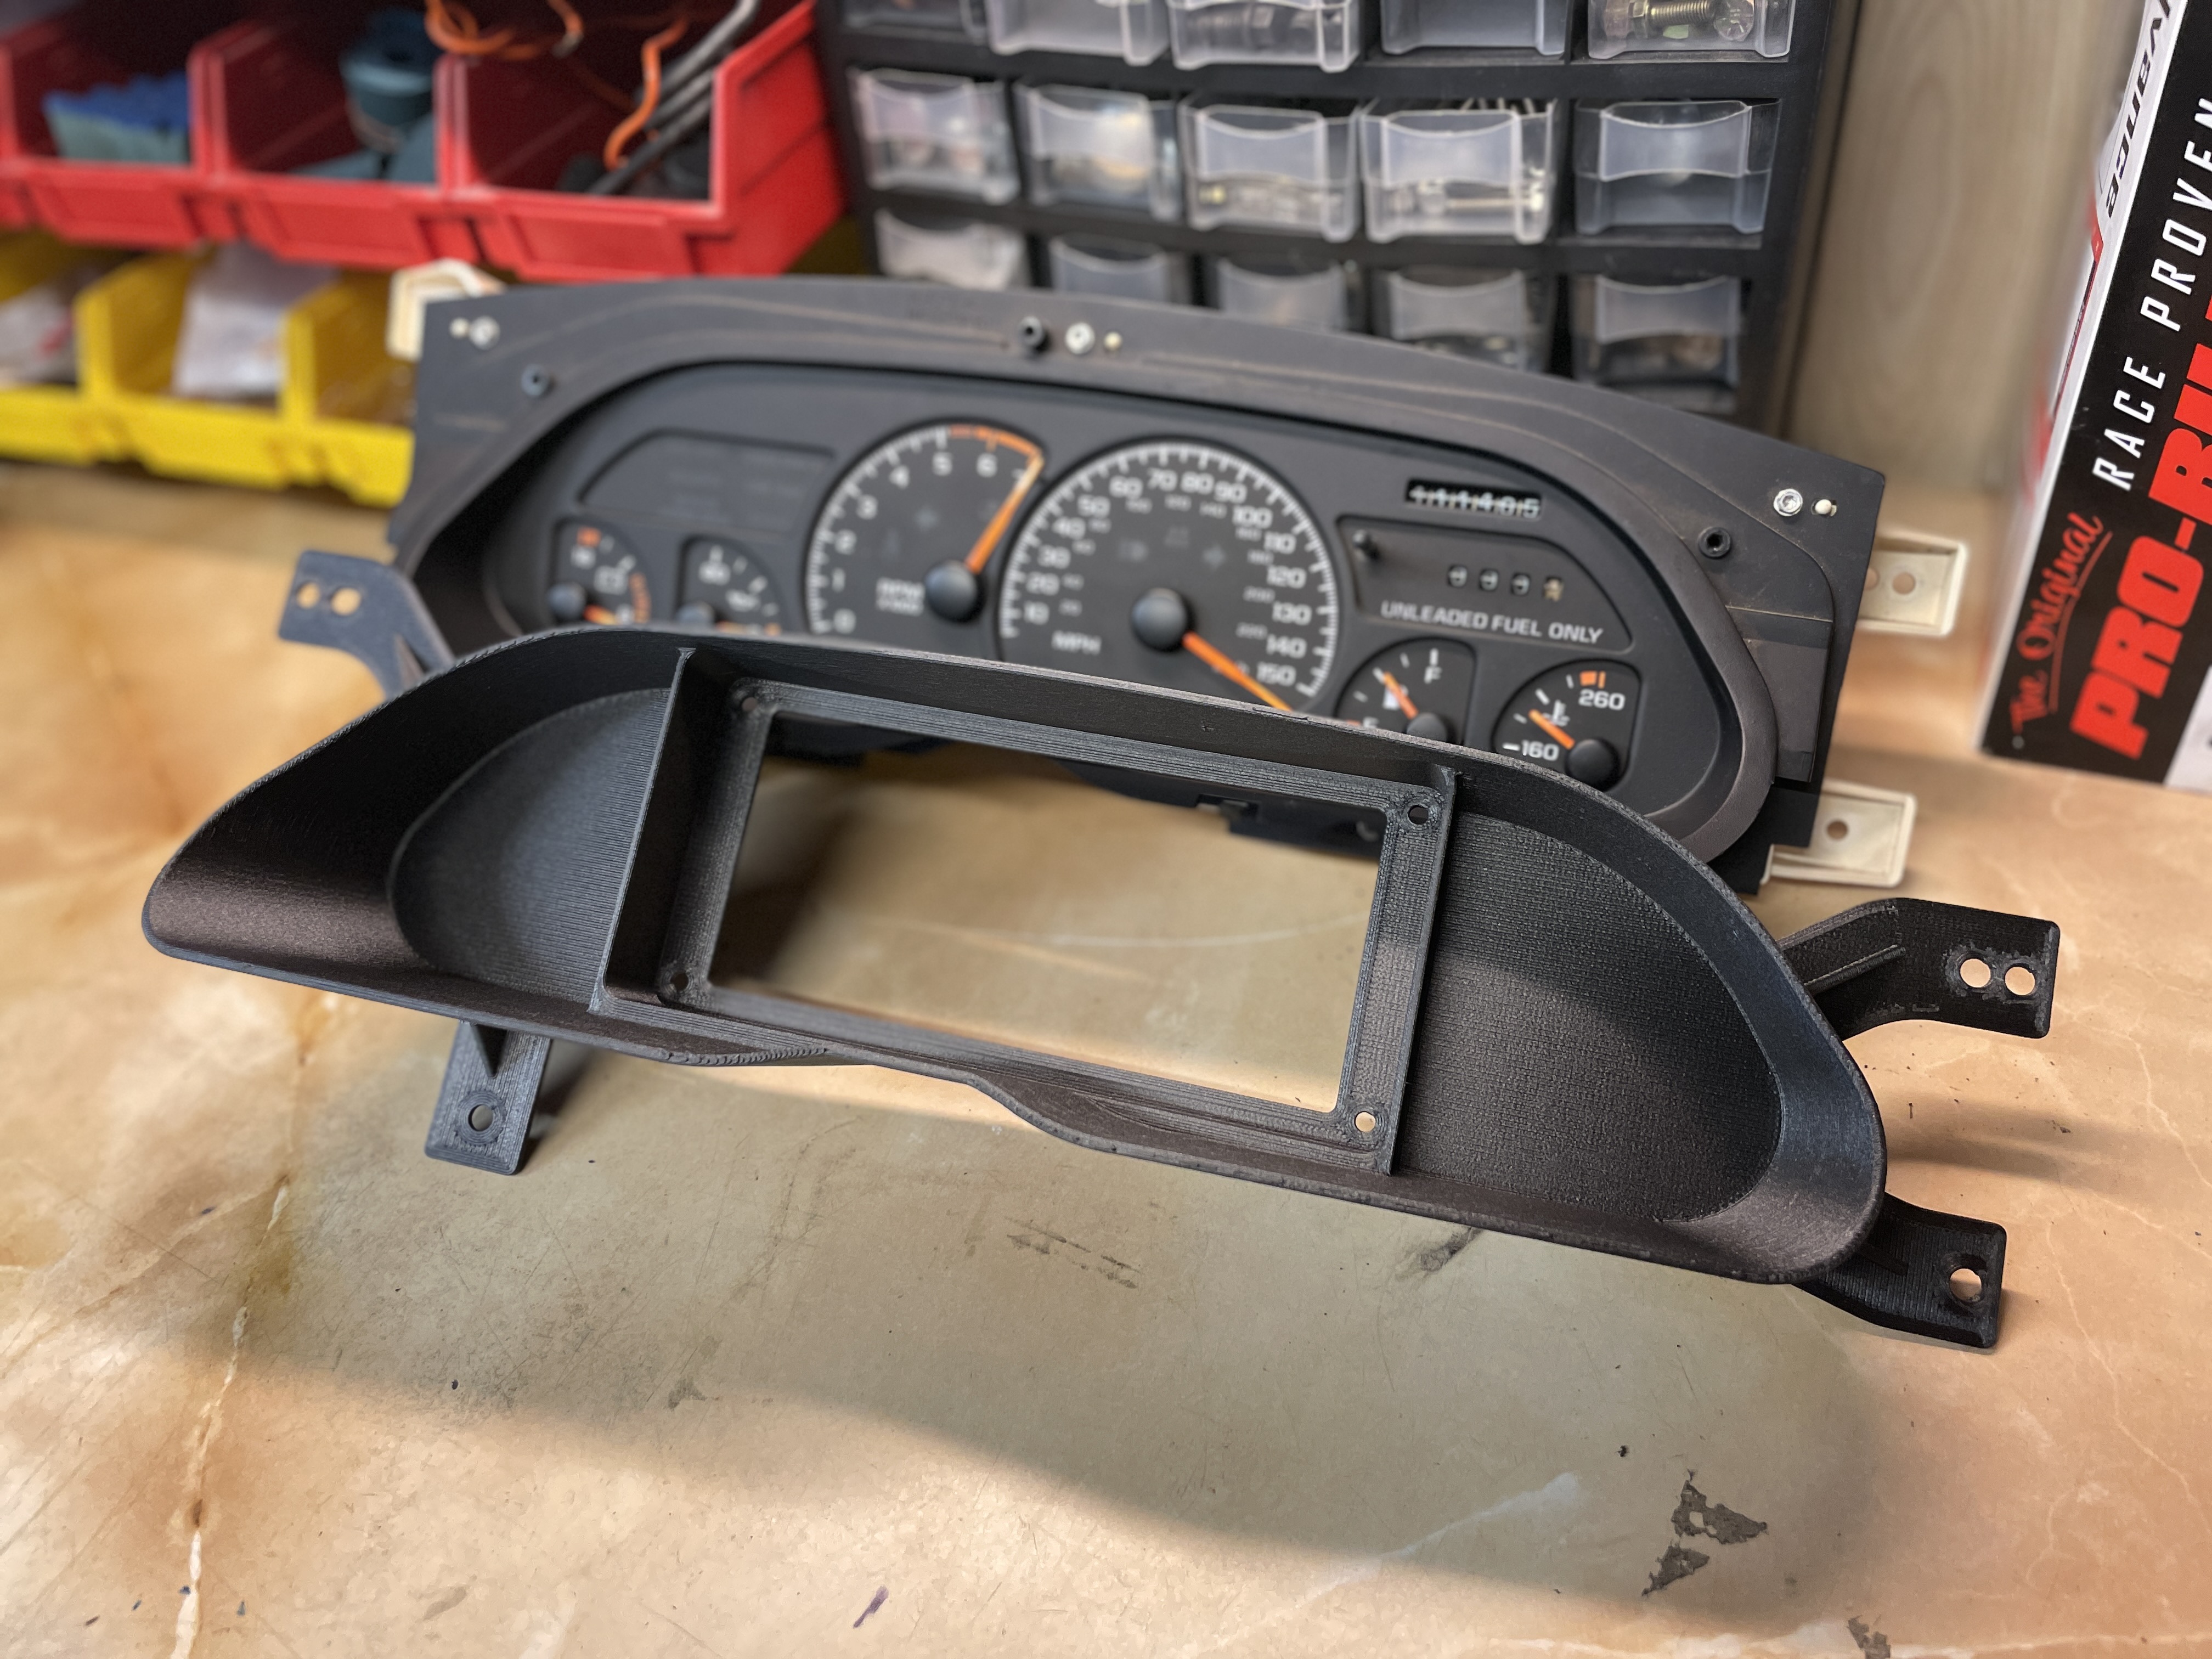
4. The Final Part in Front of the OEM Cluster
Every project we work on from big to small goes through this design process, and this is the reason why we've got so many satisfied users across the planet. Reach out to us and we'll get in touch with you to talk about goals, outline the timeline, pricing, and other options to make your build one of a kind and bring a fresh new look to your classic ride!
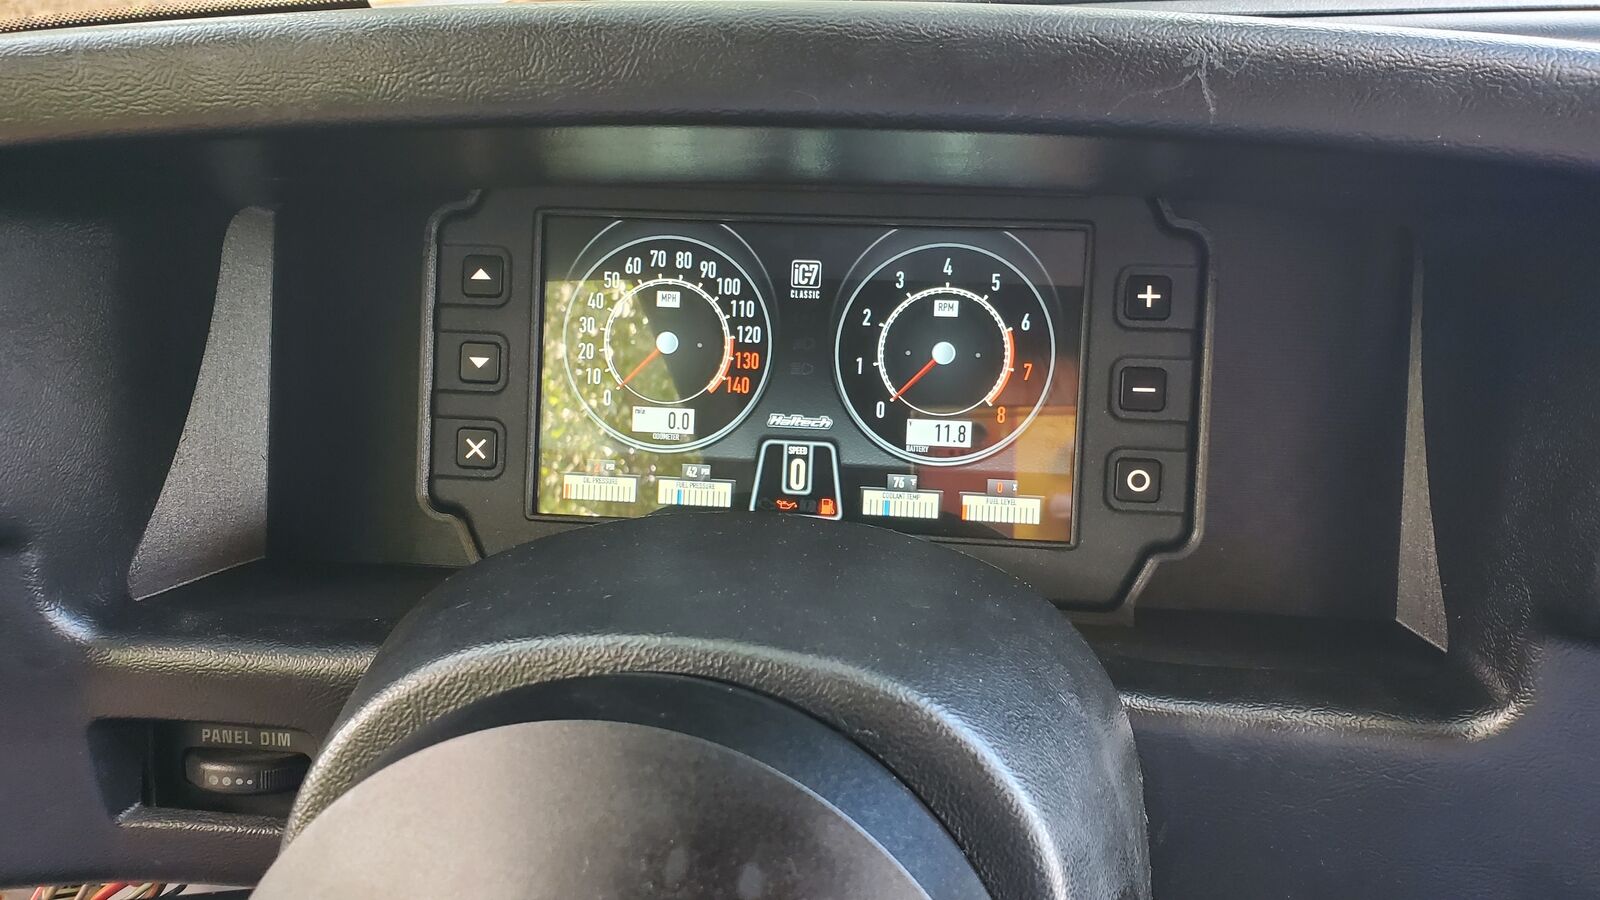
5. An Install Shot of the Haltech IC7 Looking Sharp!